High CPU or Disk Usage by Ntoskrnl.exe on Windows 10 [SOLVED]
Systemitems are hogging your PC resources. They’re little programs that run automatically without you knowing it. You might even think that they’re doing something useful, but they’re actually just taking up space. If you want to find out what systemitem is causing high disk activity, use Process Explorer. This tool allows you to see exactly what each process is doing. You’ll be able to tell whether it’s a virus, spyware, adware, or anything else.
Rightclick on a system item and select Properties. In the dialog box that appears, look under the Details tab. There you’ll find information about the program, including how much memory it uses, how often it runs, and where it resides on your hard drive.
If you suspect that one particular systemitem is responsible for a lot of disk activity, try disabling it. Go into Device Manager and disable the device. Then reboot your computer. If the problem goes away, you know that the systemitem is the cause.
You can also use Task Manager to identify systemitems. Open Task Manager by pressing Ctrl+Shift+Esc. Click on the processes tab and sort by CPU usage. Look for a process called “systemitems”. If there’s a large amount of CPU usage associated with this process, you’ve found the culprit.
Finally, you can use Driver Easy to uninstall systemitems. Download Driver Easy here. Run the software and follow the prompts. When the installation completes, open the main window. Under Drivers & Hardware, locate the category named “System Items.” Double-click on the name of the systemitem you want to delete. A confirmation screen will pop up. Select Yes, I’m sure.
After Driver Easy finishes uninstalling the systemitem, restart your computer. If the issue persists, repeat steps 2-4.
What is the ntoskrnl.exe file?
Ntoskrnl.exes are essential parts of the operating systems. They are used to manage hardware resources such as memory, disk space, network connections, etc. When you start up your computer, it loads the kernel into memory. This process takes some time because there are thousands of components loaded into memory. After the kernel is loaded, it starts loading the rest of the operating system. At this stage, the kernel begins executing code stored in the boot sector of the hard disk. Once the kernel finishes loading, it checks whether the boot loader is present. If the boot loader is found, the kernel continues to load the boot loader. Once the boot loader is finished loading, the kernel executes the boot loader. The boot loader locates the operating system image file and copies it into memory. Then, the kernel loads the operating system.
The kernel uses the ntoskrnl module to perform basic tasks such as managing processes, scheduling threads, and handling interrupts.
Why does Ntoskrnl.exe make the CPU work too hard?
ntoskrnl.exe is one of the most important files in Windows. It manages memory allocations and deallocations, and it is used for many other tasks. If you are experiencing high CPU usage due to ntoskrnl.exes, here are some possible causes:
1. Malware Infection
Malware infections often cause problems with ntoskrnl because they use resources without releasing them. This is why you might see high CPU usage even though there are no programs open.
2. Registry Corruption
If you have been installing software recently, you might notice that your computer runs slower than usual. This is because the installation process creates temporary files in the registry. These files take up space and slow down your PC. You can clean out the registry by deleting unnecessary entries.
3. System File Corruptions
System file corruption happens when something goes wrong during the installation of a program. When this occurs, the operating system cannot find the necessary files. In addition, corrupted system files prevent applications from working properly. To fix this issue, you must repair the damaged files.
Why Ntoskrnl.exe uses so much disk space, memory, and CPU
NTOSKRNL.EXEs are used by Windows operating systems to manage hardware devices such as hard drives, memory cards, USB ports, network adapters, etc. These files are usually located under %SystemRoot%\system32 folder. You can find out how much RAM NTOSKRNL takes up by opening Task Manager. If you want to know what causes NTOSKRNL to use so much CPU, just run Resource Monitor and check the process name.
New Compressed Memory on Windows 10
Microsoft has introduced a new compressed memory feature in Windows 10, making it possible to compress files into smaller sizes without losing data. This feature is called “Compressed Storage,” and it allows users to save space on their hard drives.
The feature works like this: If you open multiple documents, images, videos, etc., the file size increases because there are no spaces left on your computer. With Compressed Storage, however, you can compress those files into smaller sizes. You can even compress multiple files into one single file.
This feature is already available on mobile devices such as smartphones and tablets, but now it’s coming to PCs as well.
According to Microsoft, the main advantage of Compressed Storage is that it reduces the amount of storage needed on your PC. In addition, it makes it easier to transfer large amounts of data over networks.
In other words, this feature helps you store more information on your device while reducing the physical space required.
However, some people might find this feature annoying since it doesn’t allow them to view the original files anymore.
If you’re interested in learning more about this feature, check out our guide here.
Bad or outdated Device Drivers
Memory leaks are one of the most common problems faced by Windows users. They often cause slow performance and system crashes. These issues can be caused by several factors such as faulty hardware components, outdated software, and even corrupt registry entries. In some cases, it might be necessary to replace the entire motherboard or hard disk drive. However, there are many ways to resolve memory leak issues without having to buy expensive replacement parts.
Killer Network Drivers is a free tool developed by Microsoft that helps identify and fix memory leaks in Windows operating systems. This tool scans the computer for potential sources of memory leaks and provides solutions to eliminate them.
The program works by analyzing each process running on the machine. If it finds a process that uses too much RAM, it displays a list of possible reasons why this could happen. Users can choose to ignore certain processes or delete them altogether. Once the problem is fixed, the tool automatically restarts the affected applications.
Malware and viruses
Viruses and malware are designed to do one thing: damage your computer. They are malicious software programs that infect your computer without your permission. Viruses spread themselves across your hard drive and make changes to your operating system. Malware does similar things, but it often spreads itself via email attachments or web sites. Both types of malware can slow down your computer, crash your browser, steal information, and even delete files.
When ntoskrnl fails, it causes a blue-screen of death. This happens because Windows uses ntoskrnl to manage hardware resources like memory and disk space. If ntoskrnl malfunctions, your computer will shut down. You might see a black screen with a white cursor blinking in the upper left corner.
There are many ways to remove viruses and malware from your computer. Some people use anti-virus software, while others prefer manual removal methods. In either case, you must know how to identify and remove malware.
Overheating is caused by viruses or malware. Your processor is the heart of your computer. As long as it runs smoothly, everything else works fine. But if your processor overheats, it could stop working altogether.
A virus or malware will cause your computer to overheat if the CPU gets too warm. To prevent this, you can turn off unnecessary features on your computer. For example, you can disable automatic updates, change your power settings, and limit background processes.
How do I fix this?
Driver Easy is here to help you figure out what’s wrong with your computer. If you are having trouble installing or updating software, Driver Easy can help you identify the cause of the problem. You don’t even need to know how to use Windows anymore. Just follow the steps below and let Driver Easy take care of everything.
Step 1: Click “Get Started”.
Step 2: Select the type of error you’re experiencing.
Step 3: Choose the correct solution.
Step 4: Download and install the update.
Step 5: Restart your PC.
Step 6: Enjoy your newly updated system.
Method 1: Turn Windows Search Service off
This method will stop all searches on your computer. To do this you must disable the Windows Search Service. If you are unsure how to do this, please contact us.
Step 1: Open Start Menu
Step 2: Click on Services
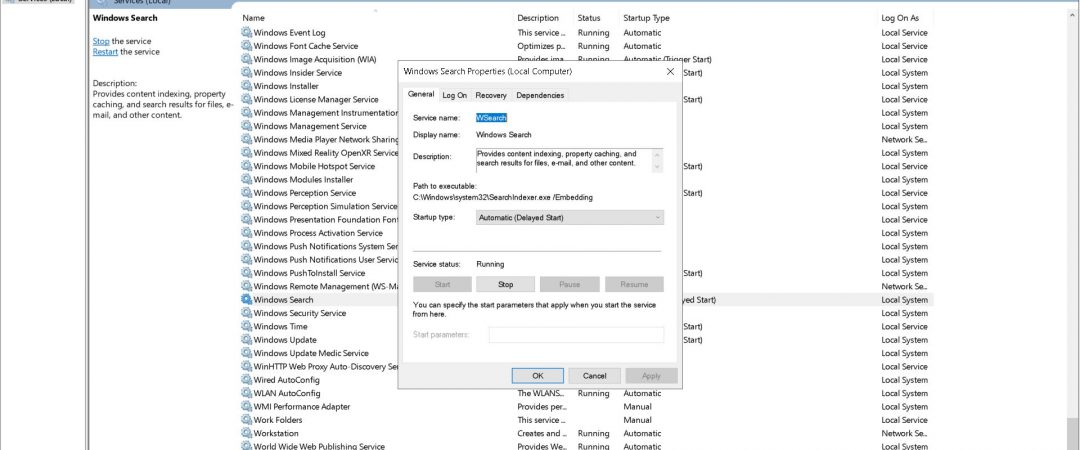
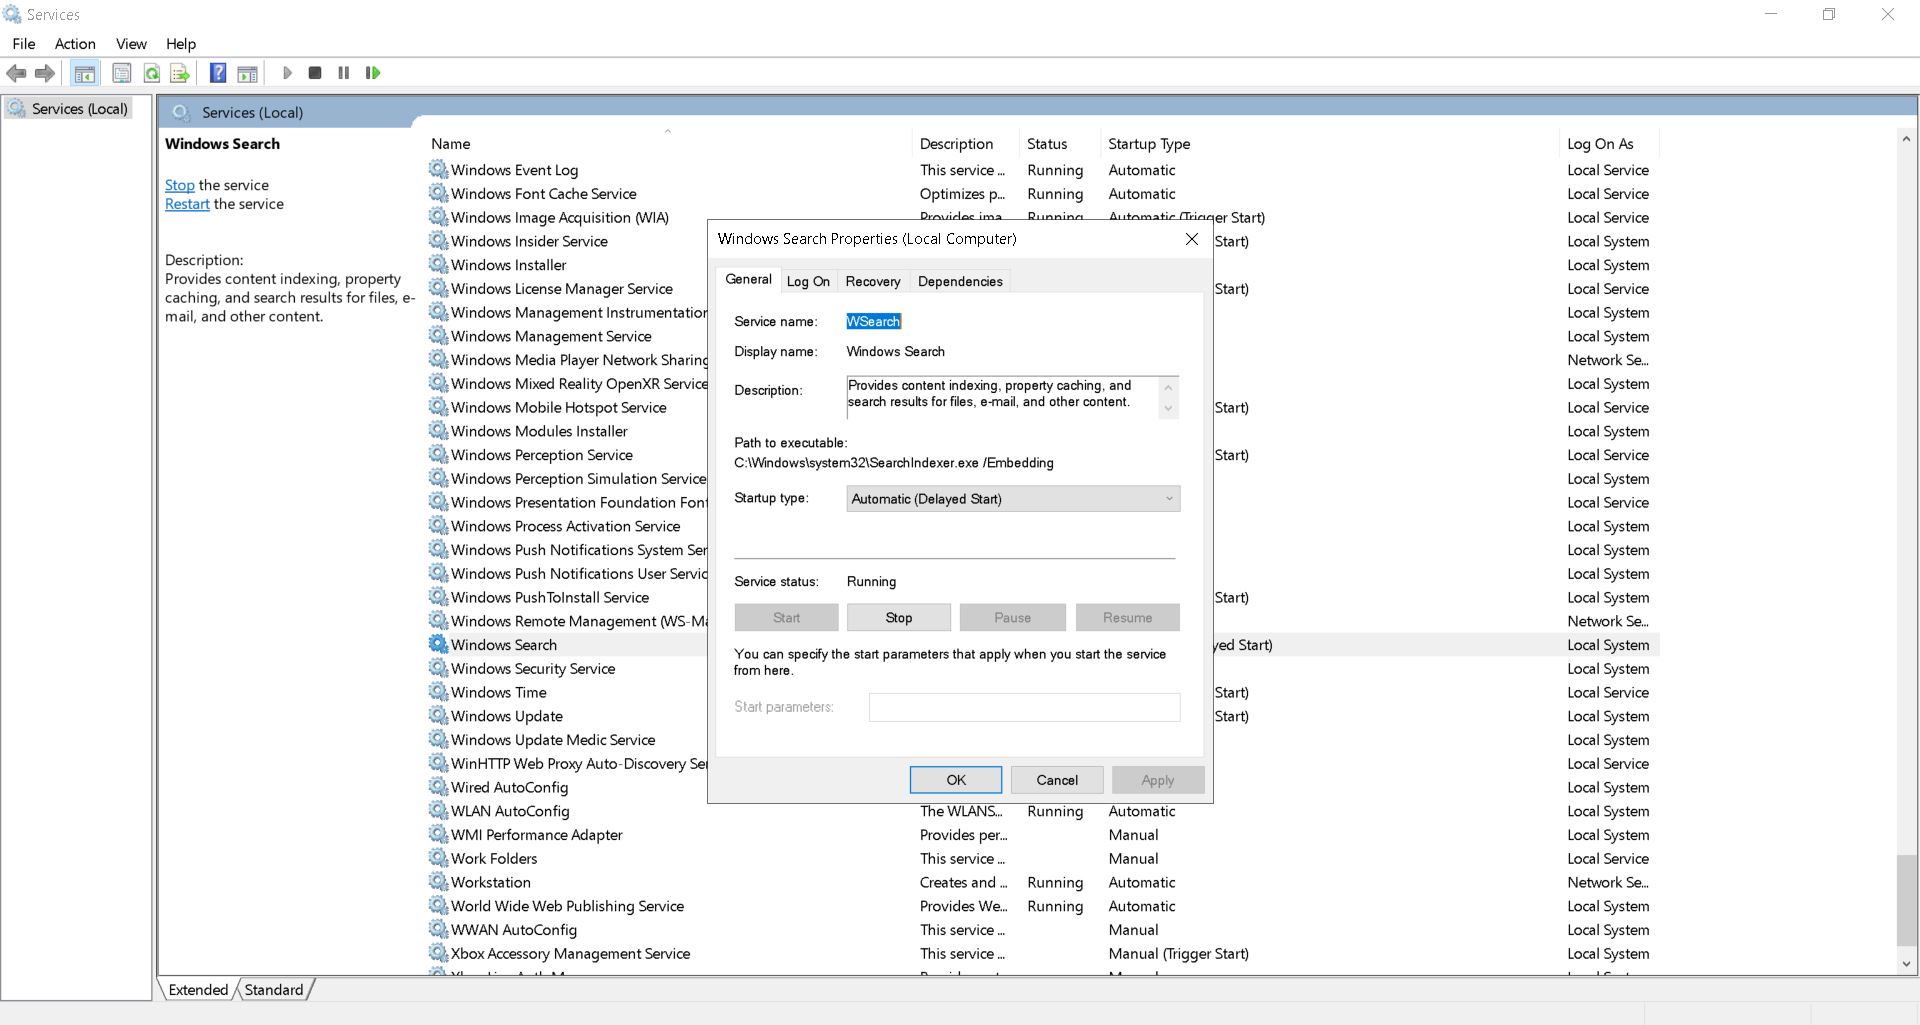
Step 4: Right click on “Windows Search” and select Properties
Step 5: Uncheck the box next to “Startup type”. Then press OK.
Step 6: Restart your PC
Method 2: Check Programs That Don’t Work Together
If you’re having trouble getting rid of malware, try method 2: check out what programs are incompatible with Windows 10. This guide will help you identify and uninstall programs that aren’t compatible with Windows 10.
Scroll down and look for “Windows Store.” If it says “Not installed,” click “View detailed information” to see why. You might want to uncheck some of those apps that don’t work well with Windows 10.
Look for anything that looks like it doesn’t belong there. Click “Uninstall” next to each one.
Find anything suspicious and delete it.
Method 3: Use Windows Performance Toolkit to find out what’s wrong.
To diagnose for errors, you must use a performance toolkit. In this article, we are going to show you how to install WPT (Windows Performance Toolkit). This toolkit includes many useful tools such as CPU usage analyzer, latency analyzer, memory profiler, etc. You can find out more about it here.
Step 1: Download the latest version of WPT from Microsoft.
Step 2: Run the setup file.
Step 3: After installation completes, open the program and run the following commands one by one:
Xperf on latancy – stackwalk profile – buffer size 1024 – maxfile 256 – filemode circular && timeout – 1 && Xperf – d cpuUsage.etl.
You will see the output like this:
CPU Usage Analyzer

Tim Wiley was a tech writer for seven years at Recode. In that time, he covered everything from basic browser.js and URL parameters to XHRs, performance, malware, security, enterprise apps, social media, and Windows secrets. He also written about how to hack Signal in 2016 and how to resist, or possibly even conquer, the zero-day threat.