WMI Provider Host (WmiPrvSE.exe) High CPU Usage On Windows 10
Windows Management Instrumentation Protocol (WMIPrvSE.exe) is a process used to manage Microsoft Windows Operating System. This process consumes high amount of CPU resources. If it runs continuously, it could slow down the performance of your computer. You might experience frequent crashes or freezes. To resolve this issue, try restarting the WMI Provider host service.
Download Restoro PC Repair Tool and run it to repair the error automatically.
WMI Provider Host is what?
A WMI provider host is one of several components that make up the Windows Management Instrumentation (WMI). This component provides a way for applications to access management data about the computer. For example, you could use it to monitor CPU usage or memory utilization.
There are many ways to check if the WMI provider host works correctly. Here are some common methods:
1. Check the Event Viewer
2. Run regedit.exe
3. Use PowerShell
4. Use WMI Explorer
5. Use Sysinternals Process Monitor
Can you disable WMI?
WMI stands for Windows Management Instrumentation. This is a service that provides information about the operating system. WMI is used by Microsoft products such as System Center Configuration Manager, Windows Server Update Services, Windows PowerShell, and many others. If you do not use some of those tools, you probably do not need WMI. In fact, there are several ways to disable WMI.
Can the WMI service be restarted?
Go to services.msc
Rightclick on it and select Start
Close the window after the start process completes
How do I force stop WMI service?
Open up a command prompt window with administrator rights.
Type in “net stop wmi”.
If you are prompted for confirmation, type in “Yes”.
You should now see the following output:
The Windows Management Instrumentation service is stopping…
Press any key to continue…
The Automatic Repair Tool for Windows
Restoro System Repair is an automatic repair tool for Windows PCs. This software scans your system and finds problems such as viruses, spyware, adware, outdated drivers, etc., and fixes them automatically. You don’t even need to restart your PC.
The scan process takes about 10 minutes. After it finishes, Restoro will show you a list of detected problems. Clicking Fix All button will start fixing each problem one by one. If there are multiple problems found, Restoro will ask you whether you want to fix them all or just some of them.
You can choose to run Restoro System Repair again later, or uninstall it completely.
Method 1: To fix a WMI Provider Host Error, fix files that are broken.
A WMI provider host error typically happens due to corruption in the registry or other important system files. You can use this method to repair corrupted system files and resolve the issue.
Steps to repair corrupted system files:
1. Open Command Prompt window.
2. Type regedit and press Enter.
3. Go to HKEY_LOCAL_MACHINE\SYSTEM\CurrentControlSet\Services\WmiPrvSE\Parameters.
4. Name it as “EnableAutoStart”. Set value data type to REG_DWORD and set value data to 0x00000001. Click OK.
5. Close Registry Editor.
6. Restart computer.
7. Check whether the WMI provider host error is fixed now.
If you still face issues while trying to repair corrupted system files, follow Method 2.
Method 2: Start up Windows Management Instrumentation Service again.
Restarting the WMI Service is one of the easiest ways to fix the error code 0x80070490. This method works because it restarts the WMI service, which causes the system to restart.
There are other methods to solve this problem, but this is probably the best solution. If you don’t want to reboot your computer, try Method 3.
Method 3: Use an elevated command prompt window to fix a high CPU usage.
This article explains how you can fix high CPU usage problems on Windows 10 machines. If you are experiencing high CPU usage issues on your PC, it could be due to one of many reasons. In some cases, there might be malware installed on your computer, causing system instability. Other times, it could be because of a virus infection. Or maybe you just have too much RAM being used up. Whatever the case may be, we’ll show you three different methods to fix high CPU usage on Windows 10.
#1 – Run Process Explorer
Process Explorer is a free tool that allows you to view processes running on your machine. To use it, simply download and install Process Explorer from Microsoft. Once you’ve done that, open the program and type “wmic path win32_perfinfo.” into the text box located at the bottom left corner of the screen. Press Enter. A list of information about each process will pop up. Scroll down to find out what each process is doing.
#2 – Check WMI Processes
If you’re having trouble identifying which process is consuming most of your CPU resources, try checking the WMI processes. Then scroll down to the Performance tab and select the following columns:
CPU Time: Shows the amount of processor time consumed by the process.
Memory Usage: Shows the memory allocated to the process.
Method 4: Check your system.
A Windows Management Instrumentation (WMI) provider host might be consuming too much system resources. This article describes how to scan your computer for viruses or malware infections that are causing the problem.
The WMI provider host is responsible for monitoring hardware and software components running on your computer. If you see a lot of activity in the WMI provider host, it could mean that there is some type of virus or malware infection on your machine. To find out what is causing the issue, perform a system scan.
1. In the Search box, enter “system.”
2. Select “System and Security,” and then select “Action Center.”
3. On the Action Center screen, under “Windows Defender,” click “Scan Now.”
4. Wait while Windows scans your computer for problems. When finished, review the report. You can use the information in the report to determine whether you need to take further action.
Method 5: Do a clean boot to fix WMI Provider Host Error.
Sometimes, one or two applications can cause the WMI provider error. If you are experiencing this issue, try restarting your computer and check whether the WMI provider error still occurs. If it does, follow the steps below to resolve the error.
1. Restart your computer.
2. When prompted, press Enter to start Windows.
3. Click Start, type cmd in the Search box, and then press Enter.
4. At the command prompt, type sc config wmiproviderhost start disabled and press Enter.
5. Type exit and press Enter.
6. Reboot your system.
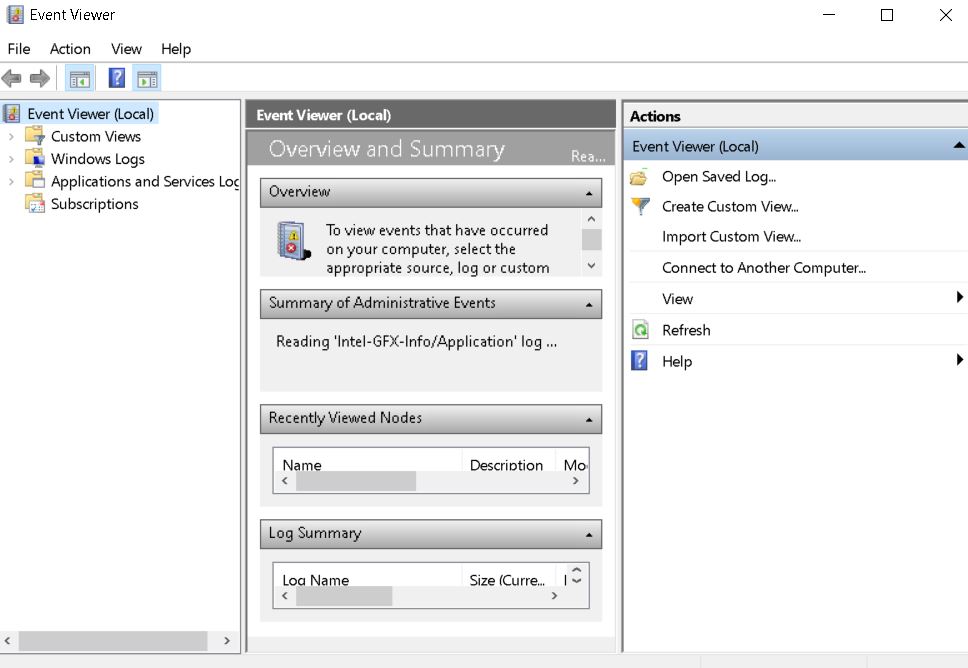
Method 6: Use Event Viewer
There are many ways to access Event Viewer, including press Windows key + X and select Event Viewer from the pop up window.
Make sure to look for ProcessID and memorize its value before proceeding further..
Some users suggested that you can just right click the process and select “Stop”. This will prevent any further issues.
To avoid any future issues, you should run a scan with our free tool.
If you want to remove the application completely, you should uninstall the app.
Method 7: HP Software Framework Service should not be used.
HP Software Framework Service causes problems when running HP Wireless Assistant. If you experience high CPU usage issues while running HP Wireless Assistant, try disabling the HP Software Framework Service. To do this, follow these steps:
1. Select HP Software Framework Service under Windows Components
2. Click Change/Remove button next to HP Software Framework Service
3. Uncheck the box next to “Start the program”
4. Restart your computer
5. Reinstall HP Wireless Assistant
Method 8: Install Windows 10 in a clean way.
Windows 10 is one of the most popular operating systems out there. However, it does come with some problems. One of those problems is that you cannot install apps while performing a clean installation of Windows 10. This method will help you perform a clean installation of Windows without having to worry about apps being installed.
Step 1: Download the ISO file of Windows 10
You can download the ISO file of Windows here. You can use either the 64bit version or 32bit version depending on what type of computer you are running. If you want to know how to burn the ISO file, check out our guide on How To Burn An ISO File.
Step 2: Create a USB flash drive
Once you have downloaded the ISO file, you will now need to create a bootable USB flash drive. For this tutorial, we will be using Rufus. You can find instructions on how to use Rufus here. Once you have completed creating the USB flash drive, plug it into your computer.
Step 3: Boot up your PC
Now that you have plugged in the USB flash drive, you will need to reboot your computer. When you restart your computer, press F12 to enter BIOS settings. In the BIOS settings, make sure that the USB device is set as the primary boot option. After rebooting, you will see the Windows logo screen.

Tim Wiley was a tech writer for seven years at Recode. In that time, he covered everything from basic browser.js and URL parameters to XHRs, performance, malware, security, enterprise apps, social media, and Windows secrets. He also written about how to hack Signal in 2016 and how to resist, or possibly even conquer, the zero-day threat.