How To Uninstall Security Essentials in Windows 10
Microsoft Security Essentials is one of those programs that you just don’t want to delete. This program is bundled with Windows 10 and is used to protect your computer against malware attacks. But there is a problem; both Windows Defender and MSE come preinstalled in Windows 10. So how do you uninstall MSE without uninstalling Windows Defender? Let us show you how to uninstall MSE in Windows 10.
#1 Method: Uninstall MSE via Control Panel
First things first; open up the control panel. You can find the control panel by searching “Control Panel” in the start menu. Here you’ll see all the applications installed on your PC. Click on the application you wish to remove. In our case we will choose MSE. Now press Uninstall button.
#2 Method: Remove MSE via Registry Editor
If you prefer to use a third party tool to remove MSE, then you can try out RegEdit.exe. Open regedit and navigate to HKEY_LOCAL_MACHINE\SOFTWARE\Microsoft\Windows Defender\Setup\SecurityCenter\DisableFeatures. If present, change DisableFeatures value to 0. Restart your system and check whether MSE is removed successfully.
#3 Method: Use PowerShell Commands
PowerShell commands allow you to perform tasks easily and quickly. One such command is Get-AppxPackage. By running this command, you can list all the apps installed on your device. From the output, you can identify the app you wish to uninstall. Run the following command to uninstall the app.
Can I run MSE without installing it?
Yes. If you want to try out MSE, you don’t need to download anything. Simply launch the MSE icon from the Start menu.
When does MSE start?
MSE starts automatically whenever you log into Windows. However, you can choose whether to start MSE every time you boot up or just once. See How do I turn off automatic startup? for more information.
In Windows 10, uninstall Microsoft Security Essentials.
Microsoft Security Essentials (MSE) is one of those programs you don’t want to uninstall. You might think it’s just another antivirus program, but it’s actually much more than that. In fact, it’s a full-blown security suite that offers protection against malware and spyware. If you’re running Windows 10, however, there’s no way to completely remove MSE. Here’s how to do it anyway.
The Uninstall Procedure Doesn’t Work Properly
If you try to uninstall MSE manually, you’ll find yourself stuck in an endless loop. When you attempt to delete MSE, Windows asks whether you really want to do it. Clicking “Yes,” leads to a confirmation screen where you can choose to keep MSE. After you’ve done that, you’ll see a second confirmation screen asking whether you want to restart your computer. Clicking “No” here doesn’t lead anywhere. Instead, you’ll end up back at the previous screen.
This happens because MSE isn’t installed correctly. To fix the issue, follow these steps:
Users Who Upgraded Without Removing MSE Had Problems Afterwards
Upgrading to Windows 10 is always a hassle. But if you didn’t uninstall MSE beforehand, things could get even worse. Many people reported having issues with their computers following the upgrade. Some couldn’t boot anymore, while others found themselves unable to access certain files.
Method 1: Remove Microsoft Securit Essentials.
Microsoft Security Essentials is one of the most popular free anti-virus programs out there. However, it does come with some limitations. For example, it doesn’t allow you to use third party apps like Chrome or Firefox, and it blocks access to certain websites. If you’re tired of dealing with those restrictions, here are three ways to uninstall Microsoft Security Essentials.
Step #1: Click “Turn windows defender off.”
Step #2: Press “OK”.
Step #3: Restart your computer.
Step #4: Locate Microsoft Security Essentials and click “Uninstall”.
Method 2: Run the Uninstaller in Windows 7 Compatibility Mode.
To remove MSE completely, open up Windows File Explorer and navigate to the following path: C:\Program Files (x86)\Microsoft Security Client\ Then locate setup.exe and double-click on it. Once the installation starts, browse to the directory where you want to save the files and click OK. When prompted, type in the password and hit Enter. Now, switch to the compatibility tab and ensure that “Run this program in compatibility mode for Windows 7” is checked. Hit Apply and close the window. You’ll see a small progress bar while the uninstallation takes place. Wait till the process completes and restart your PC.
Note: If this doesn’t fix the issue, try method 3.
Method 3: Uninstall MSE Using the Command Prompt
Microsoft Security Essentials (MSSE) is one of the most popular free antivirus programs out there. However, it doesn’t come without problems, especially when you’re trying to unistall it. If you want to completely uninstall Microsoft Security Essentials, here are three methods you can try.
1. Method 1 – Remove Programs
If you’ve tried everything else and still haven’t been able to uninstall MSE, then perhaps this option will work for you. On the left side of the window, look for “Microsoft Security Essentials”. Click on it and select “Uninstall.” At the confirmation screen, click OK. After doing so, restart your computer and see if MSE has disappeared.
2. Method 2 – Use Windows Disk Cleanup
Another way to uninstall MSE is to use the built-in tool called Disk Cleanup. In the dialog box that appears, select the drives you wish to clean. Then click on “Clean Up System Files,” followed by clicking on “OK.” Once done, reboot your system and check whether MSE has been removed.
3. Method 3 – Delete Registry Keys
The third and final way to uninstall MSE involves deleting registry keys. Run it and navigate to HKEY_LOCAL_MACHINE\SOFTWARE\Microsoft\Windows Defender\Setup\SecurityCenter. Here, delete the following key:
HKEY_LOCAL_USER\Software\Microsoft\Windows Defender Setup\Security Center\Enabled
After doing so, restart your PC and check whether MSE is gone.
Method 4: Run Hitman Pro as well as Malwarebytes.
If you are looking for a free anti-malware program like Malwarebytes Anti-Malware, we recommend checking out HitmanPro. This program offers many features such as real-time protection, automatic updates, full disk scan, file signature update and much more. You can download it here.
The next step is to run Malwarebytes Anti-malware to make sure there are no threats detected. If everything looks good, you can proceed to Method 5.
Method 5: Microsoft Security Essentials files and folders must be uninstalled and removed.
If you are facing issues while installing or uninstalling the program, then it might be due to the presence of some unwanted files and folders. In such cases, it becomes necessary to remove those files and folders manually. You can do it easily by following the steps mentioned here.
Step 1: Open Command Prompt window. For Windows 10/8/7, press Win + X keys together. Then select Run option from the context menu. Type cmd in the text box and hit Enter key.
Step 2: Now type “cd c:\windows\system32” without quotes and hit enter button. This command will take you into the system folder.
Step 3: Next step is to locate the file mssecur.dll. If you don’t know how to find the location of the file, then follow the instructions given in the article “How to Find Files and Folders”.
Step 4: Once you find the file, copy it and paste it onto Notepad. Save the file as mseuninstaller.bat. Make sure you save the file as.txt extension.
Step 5: After saving the file, double click on it. A dialog box will open asking whether you want to run the batch file or view the contents. Click on Yes.
Step 6: Another dialog box will pop up saying that the process is being completed. Wait till the process completes.
Method 6: Make use of the Microsoft Security Essentials Removal Tool.
Microsoft Security Essentials (MSE) is a free antivirus program that runs alongside Windows Defender. It provides protection against viruses, spyware, rootkits, adware, and other malicious threats. However, some people don’t like it because it slows down their computers and consumes too much memory. If you want to uninstall MSE, follow these simple steps:
1. Type regedit into the text box and press Enter.
2. In the registry editor, navigate to HKEY_LOCAL_MACHINE\SOFTWARE\Microsoft\Windows NT\CurrentVersion\SoftwareProtectionPlatform
3. Locate the key named SPSVC. Double-click it to open the value list.
4. Delete the string ValueData. This will disable the feature that allows MSE to run automatically.
5. Close the registry editor. Restart your computer. You’re done!
If you are having problems getting rid of MSE, try Method 5.
Method 7: Use Microsoft Security Essentials Removal Tool
Microsoft Security Essentials (MSE) is one of those programs you never really think about deleting because it seems like such a good idea. However, sometimes it just doesn’t work out. If you’re having problems uninstalling MSE, there are some steps you can take to try and fix the issue. This method uses the Microsoft Security Essentials removal tool to help uninstall the program.
To use the tool, download it from here. Once downloaded, open it up and follow the directions. You’ll need to make sure you select “Uninstall Windows components”, and choose “Remove everything”. When prompted, confirm the action by clicking OK. After the process completes, restart your computer.
If you still run into issues while trying to uninstall MSE, we recommend checking out our guide to completely remove the software.
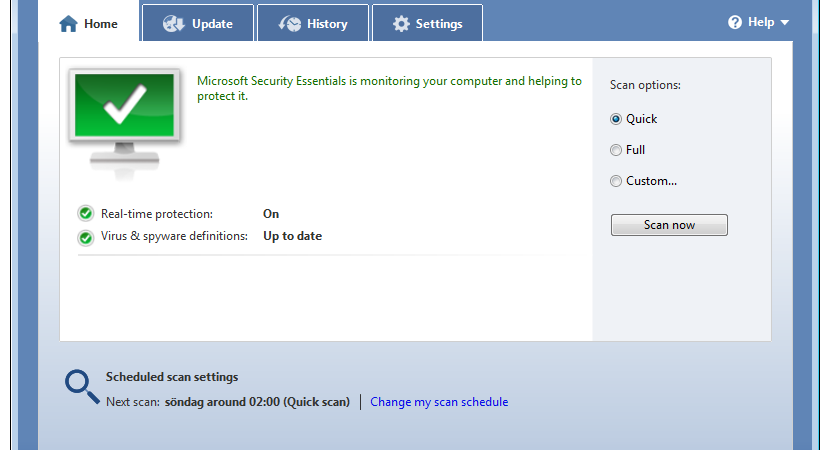
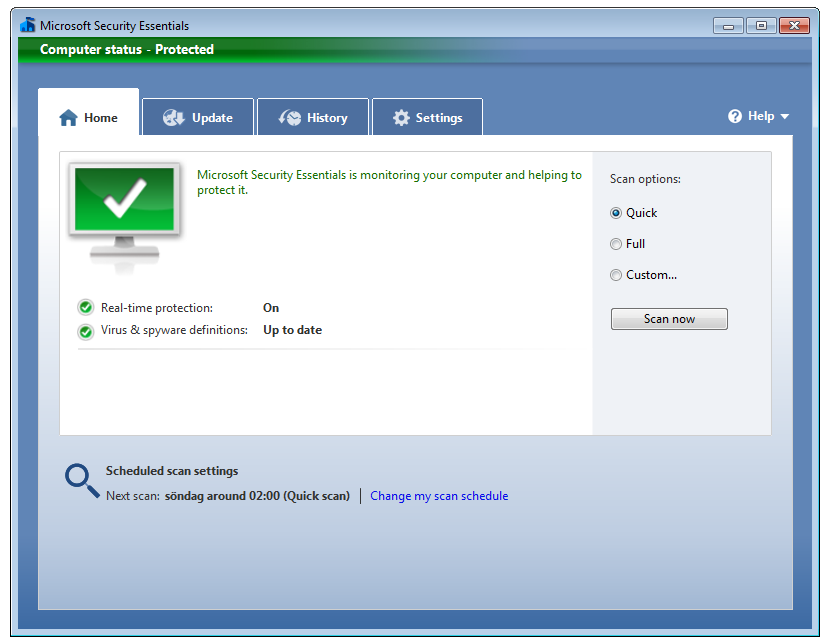
What is Microsoft Security Essentials?
MSE is a free antivirus program designed to help protect Windows PCs against malicious software (malware). It works alongside your existing security programs to keep your PC safe. To learn more about MSE, see How do I uninstall MSE?

Tim Wiley was a tech writer for seven years at Recode. In that time, he covered everything from basic browser.js and URL parameters to XHRs, performance, malware, security, enterprise apps, social media, and Windows secrets. He also written about how to hack Signal in 2016 and how to resist, or possibly even conquer, the zero-day threat.