High RAM and Disk Usage by Windows Explorer When Loading Folders Containing .TS Files [SOLVEDHigh RAM and Disk Usage by Windows Explorer When Loading Folders Containing .TS Files [SOLVED]
You might notice that your PC takes longer to boot up, and you are unable to use some applications because of high memory usage. If you are facing such issues, then you must know how to fix explorer.exe high memory usage problem in Windows 10. This article will help you to resolve this issue.
Step 1 – Restart Your Computer
Restarting your computer will clear out all the processes running in the background. So, restart your system and wait for few minutes. After restarting your system, open task manager and find the process named explorer.exe. Then end the process.
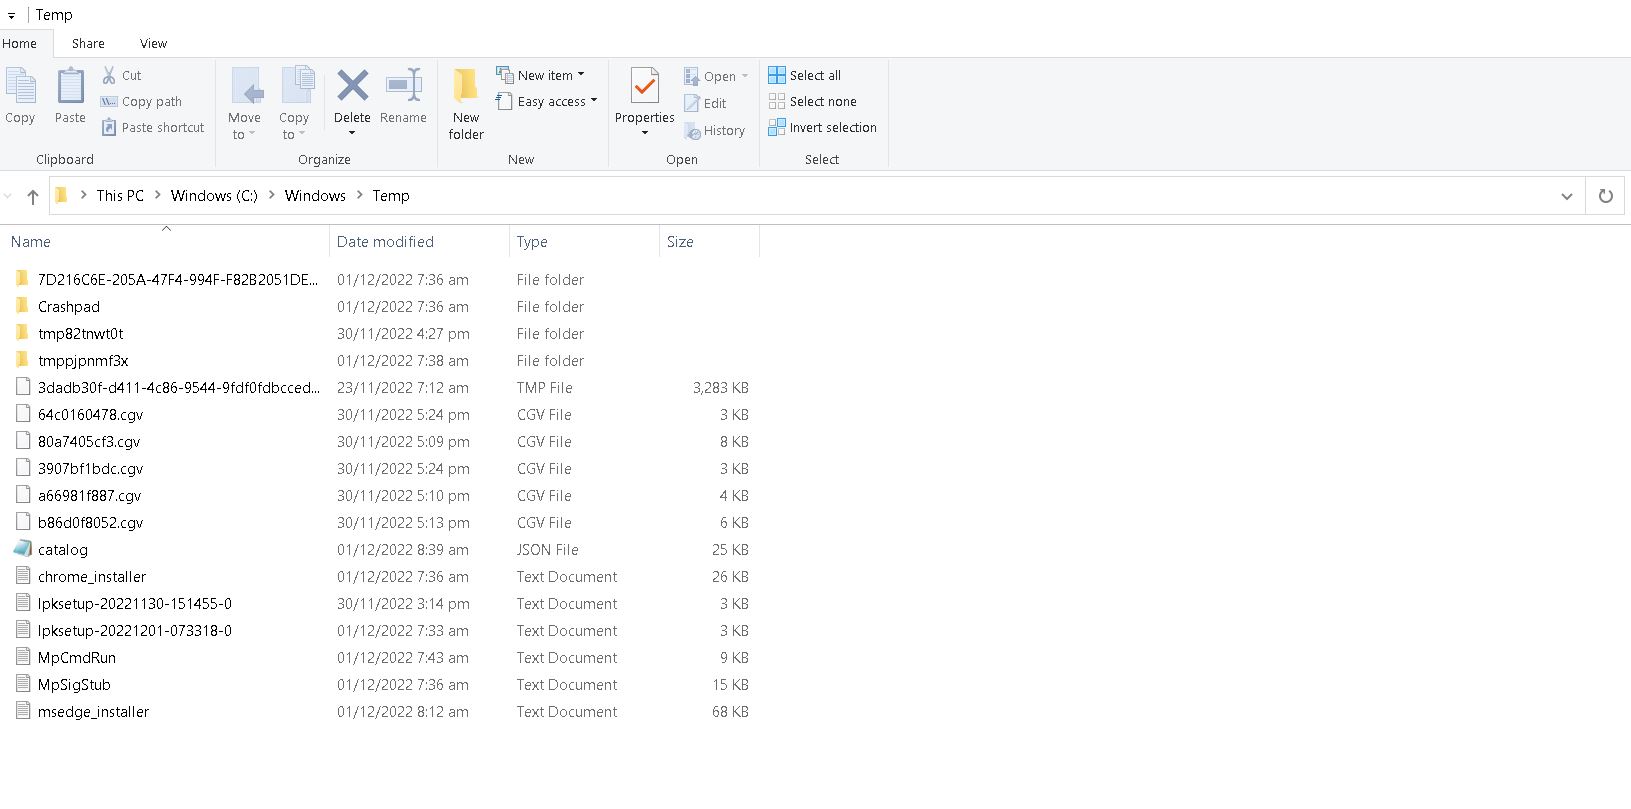
Step 2 – Delete Temporary Files
If you are getting error messages while opening programs like Microsoft Office 365, then you must clean the temp folder. Now select the option called “Temporary files”. Here you will find the list of temporary files. Select each file one by one and press the button “Delete”.
Step 3 – Clean Up Cache Folder
Cache folder stores information about recently opened documents and webpages. When you browse internet, most of the data is stored in cache folder. But sometimes, due to virus attack, malware infection or improper installation of software, cache folder becomes full and causes slow performance. In such cases, you can manually empty cache folder. Follow the steps given below to do this.
What does “high memory use” mean?
High memory usage is one of the most common problems faced by Windows 10 users. If you are facing high memory usage issues, there are some simple steps that you can take to fix it. You can follow these steps to solve the problem yourself.
Explorer.exe High use of memory and CPU
Windows Explorer.exe high memory and cpu usage problem. This article will show you how to fix it.
1. Close all running programs except Windows Explorer.
2. Open Task Manager and find out what processes are consuming too much resources.
3. Kill unnecessary process one by one.
4. Restart PC.
5. If the issue still persists, try to restart explorer.exe manually.
Fix 1. Run System File Checker
If you are facing some issues while running Windows 10, then it is better to use the system file checker utility. You just need to follow the steps mentioned below.
Step 1 : Click Start button and type “cmd”. Then press Enter key.
Step 2 : Now copy and paste the following command into Command Prompt window.
Step 3 : Wait for few seconds and then hit enter key.
Step 4 : Your PC will restart automatically. After that, you will see the screen saying “System Restore Disabled”.
There you will find option called “Turn On System Restore.” Just select Yes and then reboot your PC.
Fix 2. Run CHKDSK Utility
If you are having trouble accessing your computer, it could be because Windows is trying to fix itself. If you see the following error message, try running chkdsk /r /f. This will force Windows to check every file on your hard disk and repair anything that needs repairing.
You might want to consider backing up your data before doing this, just in case something goes wrong.
Fix 3. Run a Malware Scan
Explorer.exe high CPU usage problems are caused by malware infections. A full system antimalaware scan will help remove any malicious software from your computer. Malware infections can eat away at your PC’s processing power, causing slow performance and even crashing.
Malware infections can cause many different types of problems, including:
• Slow performance
• Crashing
• System errors
• Data loss
• Spyware
Fix 4. Disable Cloud Clients
Explorer.exe high CPU usage problems are caused by cloud storage services like Dropbox, OneDrive, etc. These services use Windows file system API to access files stored online. When there is too much activity, it slows down the computer. This problem occurs because Explorer.exe uses some APIs to open files stored online. If you want to disable these features, follow the steps given below.
1. Click OK.
2. In the list of installed programs, select Microsoft Office Online Client Access Server 2010.
3. Click Remove.
4. Restart your PC.
Fix 5. Clean up your hard drive.
Disk Cleanup is a free utility included with Windows 10 that helps you manage your computer’s storage resources. You can use it to delete old files, empty the Recycle Bin, defragment your hard disk, and perform other maintenance tasks. However, there are some things you shouldn’t do with Disk Cleanup, such as deleting system volume information or emptying the Recycle Bin. These actions can cause serious problems. If you accidentally run Disk Cleanup without knowing what you’re doing, here’s what you should do.
1. Open Disk Cleanup
To open Disk Cleanup, press Win+R keys together and type “diskcleanup”. A window will pop up showing Disk Cleanup options. Click Start button to start cleaning your disk.
2. Delete Temporary Files
If you see a list of files under Temporary Items category, just ignore those files. They won’t affect your PC performance.
3. Select Unused Space
You’ll find unused space on your hard disk. Just select it and click OK.
Fix 6. Check for problems in the Clean Boot State
To carry out a clean boot (also known as a cold start), press F8 during system loading. You will see a menu where you can choose different options. Choose “Clean boot”. Press Enter to continue.
The next screen will show some information about what happens during the clean boot. If everything goes well, it will display “Rebooting…”. When rebooting, the computer will restart and load Windows into a state called “clean boot”. In this state, no programs are running and there are no files open.
After the reboot, you can try to troubleshoot again. If the problem persists, you can use the following steps to fix it.
1. Check the hardware
Check whether the motherboard is damaged or not. If the problem occurs while working, make sure that the power supply unit is plugged in properly. Also, check whether the fan is spinning normally.
2. Check the BIOS settings
If the problem occurs while working and the fan is spinning abnormally, check the BIOS settings. Make sure that the CPU temperature is set correctly.

Tim Wiley was a tech writer for seven years at Recode. In that time, he covered everything from basic browser.js and URL parameters to XHRs, performance, malware, security, enterprise apps, social media, and Windows secrets. He also written about how to hack Signal in 2016 and how to resist, or possibly even conquer, the zero-day threat.