Are You Sure You Want to Copy This File Without its Properties? [SOLVED]
If you are trying to copy a large file without having it show up in Windows Explorer, there is a simple solution. You just need to use a third party utility called Partition Magic. If you don’t know how to do this, read on.
In Windows 7, 8, 10 and Server 2008/2008 R2/2012/2016, the default behavior of copying a file is to display the properties dialog box. In addition, the properties dialog box displays the size of the file being copied. When you select “Copy”, the properties dialog box disappears and the file gets copied. However, if you try to copy a very large file, say over 2 GB, you’ll see a warning message saying that the file cannot be copied because it exceeds the maximum limit.
The problem is that the properties dialog box doesn’t disappear even though the file is getting copied. So, what we need to do is to disable the properties dialog box while copying a file. To do this, follow these steps:
1. Open Control Panel.
2. Click System and Security.
3. Select Administrative Tools.
4. Double-click Computer Management.
What is a File properties?
Right-click the file and choose Properties to view more information. You can also choose the file to be viewed and press Alt + Enter.
The file properties window displays information such as the type of file and the date it was last modified. You can display this information in icon captions, or view columns if you use it often.
Below is a description of the Basic tab. You can also choose Open with or Permissions tabs. There will be additional tabs for certain file types, such as images or videos. This provides information like their dimensions, duration and codec.
Basic properties
- Name- This field can be used to rename the file. A file can be renamed outside of the properties window.
- Type- This allows you to identify the file type, such as PDF document or OpenDocument Text. The file type is a key determinant of which programs can open it, among other things. You can’t open a photo with a music player. The MIME type of the file will be shown in parentheses. MIME type refers to a standard way computers refer to the file type.
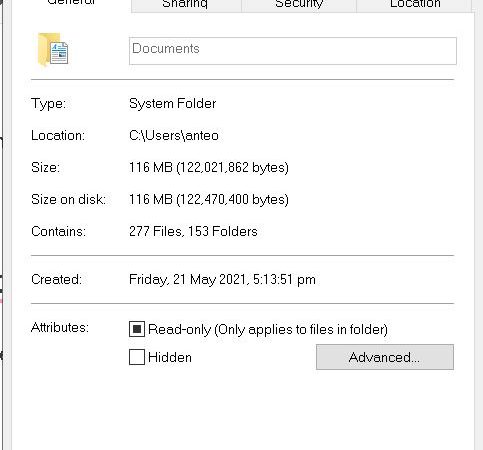
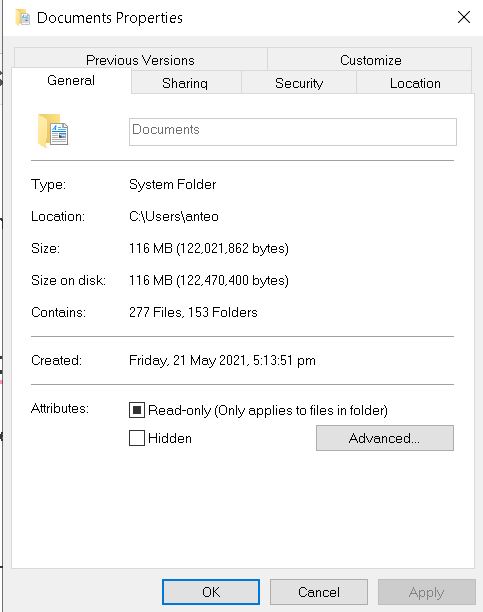
- Contents- If you’re looking at the properties for a folder, rather than a file, this field will be displayed. This field allows you to see the number items within the folder. Each inner folder, regardless of whether it contains additional items, is counted as an item if the folder contains other folders. Each file counts as an item. The contents of a folder that is empty will not be displayed.
- Size- This field will be displayed if you’re looking at a file, and not a folder. This field tells you how large a file is and how much space it takes up. This also indicates how long it takes to download or send a file in an email. Large files take longer to send/receive. Sizes can be expressed in bytes, KB or MB. In the latter three cases, the size in bytes is also indicated in parentheses. Technically, 1KB is 1024 bytes and 1 MB 1024 KB, respectively.
- Parent Folder- Absolute paths are used to identify the location of files on your computer. It is the unique address of the file on your computer. This includes a list of folders you will need to access to locate the file.
- Free Space- This only applies to folders. This shows the amount of space available on the hard disk for the folder. This can be used to check if your hard drive is full.
When prompted, “Are you sure you want to copy this file without its properties?” click Yes.
When moving or deleting a file, you usually want to keep its properties. However, sometimes, you might accidentally change the location of a file. If you do not remember where you put the file, you can use the command prompt to find out.
You can open Command Prompt by pressing Start + R and typing cmd into the Search box. Then press Enter.
In the window that appears, type cd \ and press Enter.
The CD stands for Change Directory. In this case, we are changing directory to the root directory of our hard drive.
Type dir /x and press Enter.
This command lists all the directories and subdirectories under the current directory.
If you see the name of the file you want to move or delete, select it and press Enter.
Stop the Message by Using MiniTool Partition Wizard to Convert to NTFS
The FAT32 file system is one of the most common file systems used today. However, there are some issues associated with it such as limited capacity and incompatibility with newer operating systems. If you want to use Windows 10 or later versions, you must switch to the NTFS file system. In addition, many applications cannot read files stored under the FAT32 format. Fortunately, MiniTool Partition wizard can easily convert FAT32 to NTFW without data loss.
Step 1. Download MiniTool Partition Wizard and install it on your computer. Run the program and select “Convert File System”.
Step 2. Choose the partition where you want to convert the file system. Click Next button to continue.
Step 3. Select the type of conversion you want to perform. You can choose either Convert Full Drive or Convert Selected Files. For example, if you want to convert the entire hard drive, just select “Full Drive Conversion”. Otherwise, if you want to change the file system of selected files, select “Selected Files Conversion”.
Step 4. After selecting the option, click Start button to begin converting the file system.
Note: Before starting the conversion process, please make sure that you have enough free space on the target partition.
After finishing the conversion, you can check whether the conversion is successful. Just run the program again and select “Check Disk Space”.
If everything goes well, you can reboot your PC to finish the operation.
For more information about how to convert FAT32 to NFTW, please refer to our article here.
Solution 1: Select the Convert FAT to NTFS option.
The first way to activate the Convert FAT32 to NTFS feature is to use the built-in function of Windows Explorer, which is easy enough. You just need to open up the folder where you want to convert the FAT32 partition to NTFS, select it, and press Ctrl+A. Finally, change the type from FAT32 to NTFK.
If you don’t know how to do this, here is a video tutorial showing you how to do it step by step.
Another method is to use the third-party software called “MiniTool Partition Wizard”. When installing the program, make sure to check the box that says “Convert FAT32 to NTFFS.”
After installation, launch the program and follow the instructions to convert the FAT32 volume to NTFS.
Once the conversion is complete, you’ll see a notification saying that the operation completed successfully. Now, you can safely delete the old FAT32 partition and create a new one.
You can now access the converted NTFS partition and copy files to it.
Solution 2: Turn on the Format Partitioning feature.
The Format Partition feature allows us to convert FAT32 to FAT16 without data loss. We can do it easily with MiniTool Partition Wizard.
Step 1: Run MiniTool Partition Wizard and select “Format Partition”.
Step 2: Click Next button.
Step 3: Select the target disk where we want to format the partition.
Step 4: Choose the file system type you want to convert the partition into. You can choose either FAT16 or FAT32.
Step 5: Click Finish button.
Step 6: After formatting, you can see the newly formatted partition.
If you want to convert NFT to FAT, just reverse the steps above.
Stop the Message by Using Command Prompt to Convert FAT to NTFS
FAT32 is one of the most popular file systems used today. However, it lacks many features compared to newer formats such as NTFS. One of those missing features is support for large volumes. If you are planning to install Windows 10 on a computer that already contains data on a FAT32 partition, you might want to consider converting the existing partition into NTFS. In this tutorial, we will show you how to do just that.
Step 1: Open up the Command Prompt window. To open the command prompt, press Win+R keys together and type cmd.exe in the box that appears. Click OK to confirm the selection.
Step 2: Type diskpart. Press Enter. A list of disks will appear. Select the disk where the FAT32 partition resides. For example, select Disk 0.
Step 3: List the partitions on the selected disk. Use the following commands to find out what partitions exist on the disk.
Disk Partition Label Status Size Free Space File System
0 D:\ Volume Active 20 GB Primary NTFS
Stop the Message by Using Disk Management to Convert FAT to NTFS
The FAT file system is one of the oldest file systems used today. However, it is still widely used because it is simple and easy to use. Although the FAT file system supports large volumes, it cannot support files larger than 4 GB. Therefore, if you want to store large amounts of data, you must use another file system such as NTFS.
There are many methods to convert FAT to NFT. You can use Windows Explorer, third-party software, or even command lines. But there are some things to consider before converting FAT to NTFS, including how much space you have left on your hard disk, whether you have enough space to install the required programs, and what you plan to do with the converted FAT volume.
In this tutorial, we will show you how to convert FAT to NFS using Windows 10.
Step 1: Open Disk Management
Open Disk Management by pressing Win + R keys together, type “diskmgmt”, and press Enter. Click the Disk Managment icon to open it.
Step 2: Select the Volume
Click the arrow next to the name of the volume where you want to convert FAT to NDFS. Then select the format option and click OK.

Tim Wiley was a tech writer for seven years at Recode. In that time, he covered everything from basic browser.js and URL parameters to XHRs, performance, malware, security, enterprise apps, social media, and Windows secrets. He also written about how to hack Signal in 2016 and how to resist, or possibly even conquer, the zero-day threat.