Clean Boot Windows 8/8.1/10: Full Guide
What is Windows Clean Boot?
Clean Boot is a feature introduced in Windows 7 that allows users to disable unnecessary startup items during system initialization.
In Windows 8/8.1, Microsoft added a similar feature called Fast Startup. However, unlike Clean Boot, Fast Startup only disables some startup items, but does not completely remove them.
While both features provide a convenient method to reduce startup times, Clean Boot provides additional benefits over Fast Startup.
Here are 5 reasons why Clean Boot is superior to Fast Startup:
1. Faster Startups
Windows boots much faster when you turn on the computer after turning off the machine. When you turn on a PC with Fast Startup enabled, Windows needs to load all the necessary drivers before starting the operating system. This takes longer than simply powering on the device.
On the other hand, when you power on a cleanly booted Windows device, Windows starts loading the OS immediately. As a result, you can expect to see a significant reduction in startup times.
2. Better Security
Fast Startup enables Windows to automatically load certain drivers and applications that are required for the operating system to function properly. While this may seem like a good idea, it also makes the operating system vulnerable to attacks.
For instance, malware writers can easily modify these files so that they launch malicious code when the operating system loads. As a result, fast startups make your devices more susceptible to attack.
However, Clean Boot doesn’t allow third party software to run until the operating system is fully loaded. Therefore, it prevents hackers from modifying the startup process.
3. More Control Over Startup Items
With Fast Startup, you can choose to enable or disable specific startup items. For example, you can decide whether to load the printer driver or not. With Clean Boot, however, you cannot control individual startup items. Instead, you must disable everything except the essential ones.
This makes Clean Boot unsuitable for systems that require frequent updates. For example, if you frequently update your antivirus software, you’ll need to manually reenable the antivirus application every time you restart the computer.
4. Improved Performance
Another advantage of Clean Boot is improved performance. Because Windows starts loading fewer components, startup times are reduced.
5. Easier Maintenance
Does performance change after a clean boot?
Yes, it will have an impact on performance. It will run more quickly, improve performance, and replace any damaged system files. It will only install the specific drivers for your computer; alternatively, you can install the drivers from the manufacturer’s website.
Is doing a clean boot safe?
When you see error messages on the screen but are unsure of their source, a clean boot is advised. To find the problematic app, you then disable all third-party apps and enable them one at a time.
How to Boot Into Clean Boot Mode on Windows 10
Windows 10 is Microsoft’s latest operating system. It was released in 2015 and has been downloaded over 200 million times since its release. However, some users still struggle when trying to enter clean boot mode in Windows 10. Here we explain how to enter clean boot mode and how to fix problems caused by entering clean boot mode.
Clean boot mode is a feature that allows users to reset their computer to factory settings. This feature is useful when users encounter issues like blue screen errors, freezes, crashes, etc. When users enter clean boot mode, all files and applications installed on the computer are removed. Users can also choose to delete personal information stored on the device.
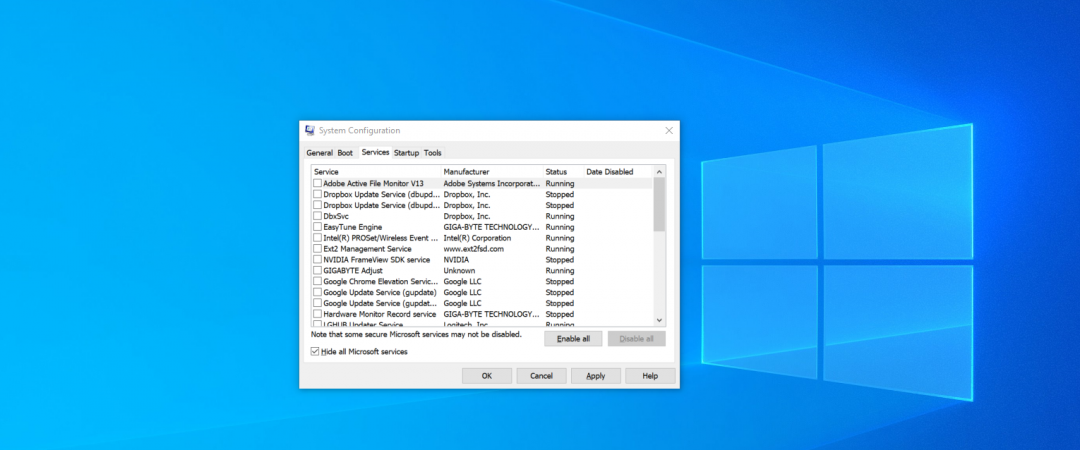
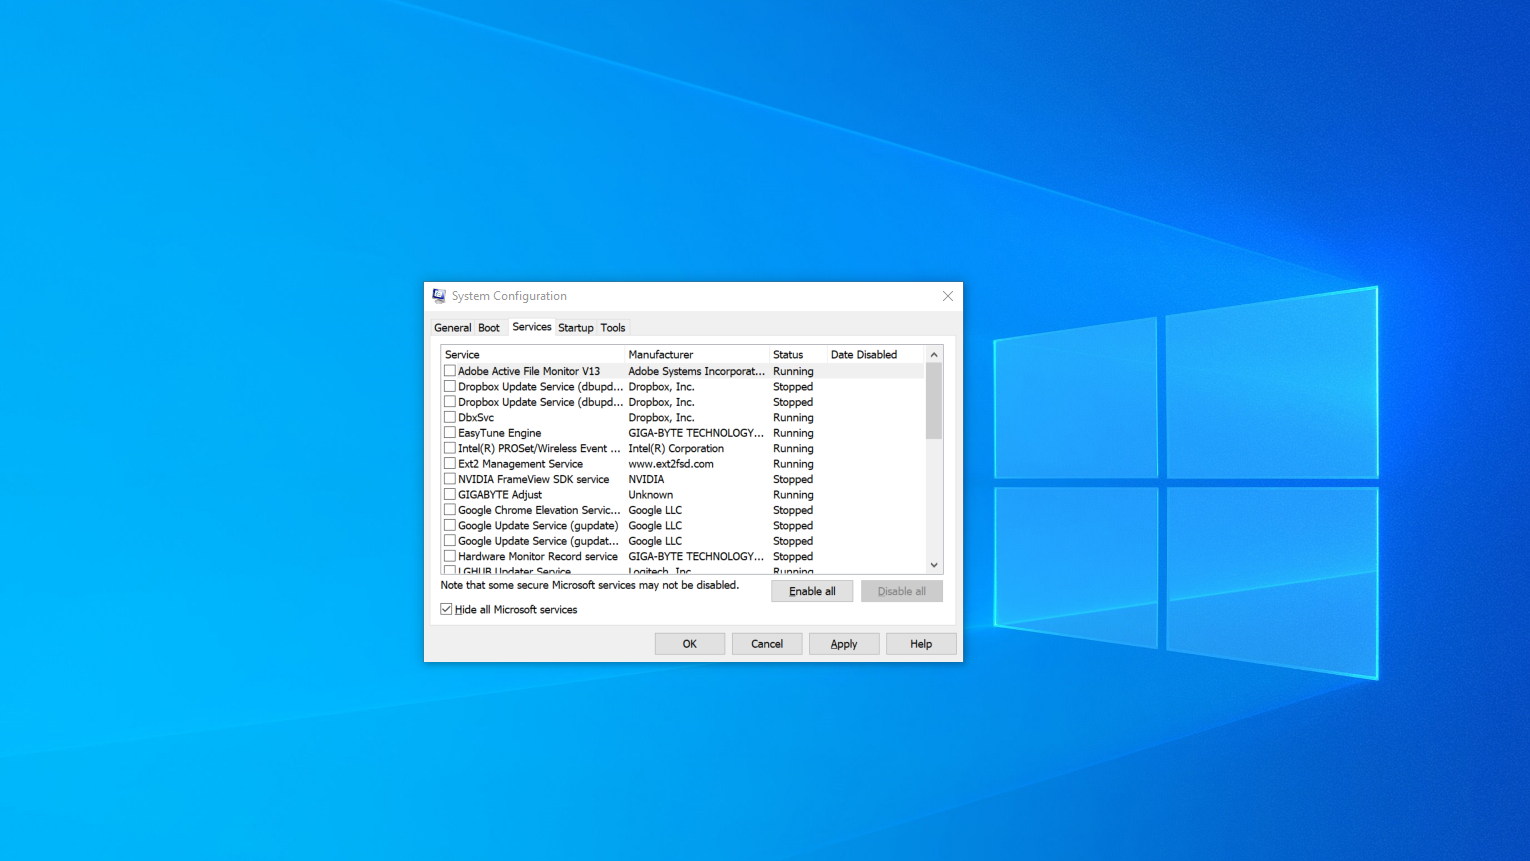
Step 1: Press Win+R keys together to open Run dialog box. Type “msconfig” in the text field and press OK button.
Step 2: Click on Startup tab. Select Disable All startup items. Click Apply and Ok buttons.
Step 3: Restart your PC.
Step 4: Wait until the login page appears.
Step 6: Click on Reset this PC now button.
Step 7: Wait until the process finishes.
Step 8: Reboot your PC.
Step 9: Enjoy!
Solution
The solution to a freeze depends on what type of freeze it is. If you’re experiencing random hangs, rebooting your PC might help. However, if you experience a hang, reboot isn’t always the answer. You’ll need to troubleshoot the issue further. Here’s how to do that.
Hang
If you’re having a hang, there could be several causes. First, check to make sure you don’t have too many programs running. Close down unnecessary applications and try again. Also, make sure you’ve got enough RAM installed. If you’re having trouble, upgrade to 16GB or 32GB. Finally, you can use Windows’ Task Manager to see if anything else is hogging up resources.
Random Hang
A random hang occurs when something goes wrong while your computer is working normally. This usually indicates a hardware problem. Try booting into Safe Mode to see if that helps. If not, you’ll need to take your computer to a repair shop.
Freeze
If you’re seeing a freeze, here are some things to look out for:
From Settings
To access the Settings Menu, press the Windows logo button on the keyboard. Then press the I key. This opens the Settings Menu.
Use Shift+Restart
If you are having problems logging into Windows 10, try restarting your PC using the keyboard shortcut. You might want to use the shift key since it is used to boot computers. This trick works on most PCs, including laptops and desktops. If you don’t see the option to press Shift+Restart, you can still do it manually. Here’s how to reboot your computer using the keyboard shortcuts.
From Advanced startup options
Advanced startup options allow you to start Windows 10 in different modes. You can choose to boot into Safe Mode, where you don’t see the desktop. This lets you use the operating system while it fixes issues. If you’re having trouble starting Windows normally, try restarting your PC in Safe Mode. To do this, press the power button to turn off your computer. Then hold down the Shift key during the restart process. When the screen turns black, release both keys. After the machine restarts, select Safe Mode from the list of options.
From the sign–in screen
If you are having trouble logging into Windows 10, here’s what you do. You must start up your PC in Safe Mode. This way, you won’t have to worry about installing programs or doing anything else while we work out why you aren’t able to log onto your device.
1. Restart your computer.
2. When you see the Windows logo, press F8 repeatedly.
3. Choose Safe Mode from the options presented.
4. Wait for your computer to finish loading.
5. Click Yes to restart the operating system.
6. Once you’ve logged into Windows again, try to use your account. If you still can’t login, we’ll move on to step 7.
Press Windows key + R (force Windows to start into safe mode every time you reboot the PC)
Do you want to make sure that your Windows machine starts in safe mode every time you power it down? Well, here is how to do it.
If you don’t know what safe mode is… well, I guess we’ll just have to take a look at Wikipedia to find out.
So, press Windows key + R (this will bring up the Run dialog). Now type msconfig.exe and hit Enter. You’re now presented with the System Configuration utility. Click on the Boot tab. If you see Safe Mode listed under the Startup Settings section, then you’ve successfully configured your Windows machine to start in safe mode.
Now, if you want to keep doing this automatically, then you can add a shortcut to the Start menu. To do this, follow these steps:
In the resulting box, enter “msconfig” and then click OK.
Press F8

Tim Wiley was a tech writer for seven years at Recode. In that time, he covered everything from basic browser.js and URL parameters to XHRs, performance, malware, security, enterprise apps, social media, and Windows secrets. He also written about how to hack Signal in 2016 and how to resist, or possibly even conquer, the zero-day threat.