Customize Windows 10 Start Menu via Group Policy [Full Guide]
Group Policy is a powerful tool that allows IT administrators to manage settings across multiple computers or even mobile devices. In this article we’ll show how to use Group Policy to create a custom Start menu layout on a PC running Windows 10.
The process starts by creating a new group policy object called “CustomStartMenu.” This policy will apply to every computer where it’s installed. To do this, open up the Local Group Policy Editor and navigate to Computer Configuration\Windows Settings\Security Settings\Local Policies\User Rights Assignment. Give the policy a name like “CustomStartMenu,” make sure “Create startup folder” is checked, and click OK. Now go ahead and close out of the Local Group Policy Editor.
Next, we’re going to add some settings to our newly created policy. Navigate to Computer Configuration\Administrative Templates\System\Control Panel\Desktop. Double-click on Desktop Background and set Wallpaper Type to None. Next, double-click on Taskbar and move the slider down to hide the taskbar completely. Then, double-click on Screen Resolution and change the resolution to 1024×768. Finally, double-click on Appearance and choose the option labeled “Show my picture in the start menu.” Click Apply and Close.
Now that we’ve configured our group policy, let’s test it out. Open up the Local Group Policy editor again and navigate to Computer Configuration\\Windows Settings\\Security Settings\\Local Policies\\User Rights Assignment. Select the policy we just created and check off Allow logon without administrator credentials. If everything worked correctly, you should see a green checkmark next to Allow logon without administrator credential.
Windows Customization Group Policy
A group policy object allows you control how Windows behaves. You can configure settings such as Internet Explorer favorites, default browser, desktop background, screen saver, etc. For example, you can set up a rule that prevents users from changing their desktop wallpaper. This way, you can prevent users from making changes without your consent.
With the help of Group Policy you can easily manage large numbers of computers. You can automate tasks like updating software, installing patches, creating backups, etc. You can use Group Policy to install applications, update drivers, and even change system settings.
You can create rules for different types of computers and networks. For example, you could create a rule that disables USB ports on laptops. Or you might want to disable wireless access points on certain devices.
Administering Group Policies with PowerShell
This article walks you through how to use PowerShell to administer group policies. You’ll learn how to set up a local domain controller, install Windows Server 2012/2016, configure group policy settings, and deploy group policies.
In Windows 10 1803 you can export the Start Menu Layout.
If you want to export the start menu layout in Windows 10, it’s pretty easy. You just need to open the File Explorer window, navigate to %USERPROFILE%\AppData\Local\Microsoft\WindowsApps, find the folder named MicrosoftEdge_Setupwizard, and delete it. Then restart your computer. This process will recreate the start menu layout, including icons, tiles, and fonts.
(Windows 7) Open the XML file with Windows Explorer.
(Windows 8) Open the XML files with Notepad.
BULLETIN:
– Facebook Messenger now lets you send GIF stickers to friends
– The feature works on both iOS and Android devices
Recognizing the Code
The Start layout always starts and ends with LayoutModificationTemplate, while every Windows 10 app has an application user model id. If you are looking for some tips about how to optimize your code, here are some useful resources.
#1: Understanding the Code
#2: How to Optimize Your Code
Obtain the Application ID.
The appid is a unique identifier assigned to each desktop application running on your Windows machine. You can use it to determine what applications are installed on your computer.
In Windows 10 1809, export the Start Layout.
To customize the Start layout, you must export it to a.XML file. You can do this manually or use an app. We recommend using the Microsoft Store App. If you don’t know how to do it, follow the steps below.
1. Open the Start menu.
2. 3. Select “Customize the start screen.”
4. Scroll down to the bottom of the list and select “Show my personal items”.
5. Click “More options…”
6. In the next window, select “Save changes to ‘Start'”.
Configure the Taskbar Layout in Windows 10
In Windows 10, version 1607, Microsoft introduced the ability to customize the taskbar layout. You can now choose how many columns of tiles you see on the taskbar. This feature is quite useful if you prefer having fewer icons on the taskbar. To change the number of columns, open the folder %USERPROFILE%\AppData\Roaming\Microsoft\Windows\ShellNoRoam\UserPinned Icons\.xml
There you’ll find a section called “ColumnCount”. Change it to whatever number you like.
You might notice that some apps don’t show up in the list of pinned items. If you’d like those apps to appear, you’ll need to add them manually. First, locate the.desktop files for each app. For example, here’s one for Chrome: C:\Users\\AppData\Local\Google\Chrome_\Default\AppX\chrome.exe.desktop
Copy the name of the.desktop file and paste it into the Pinned Items dialog box. Then press OK.
Finally, restart the computer.
Include the Taskbar Configuration in the Start Menu Layout.
To add the taskbar configuration option to the start menu layout in Windows 10 Pro, follow these steps:
1. Open the startlayoutmarketing file located in %APPDATA%\Microsoft\Windows\StartLayout.
2. Add the following XML code to the end of the file:
Apply Your Customized Start Layout Using Group Policy
If you don’t like the default layout of Windows 10, there are ways to customize it. One way is to use Group Policy to apply a customized start layout. Here’s how to do it.
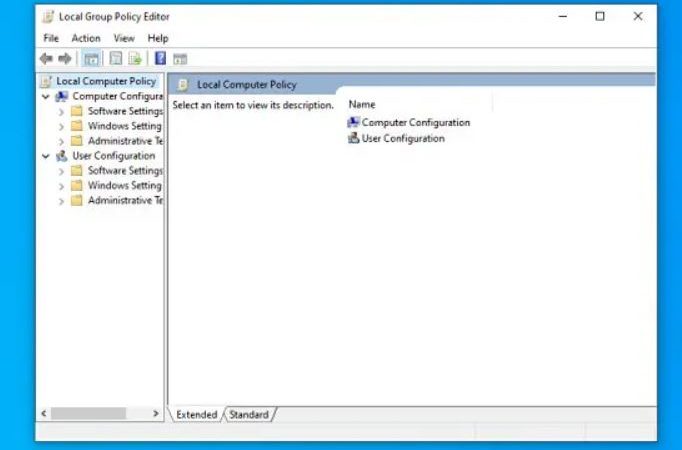
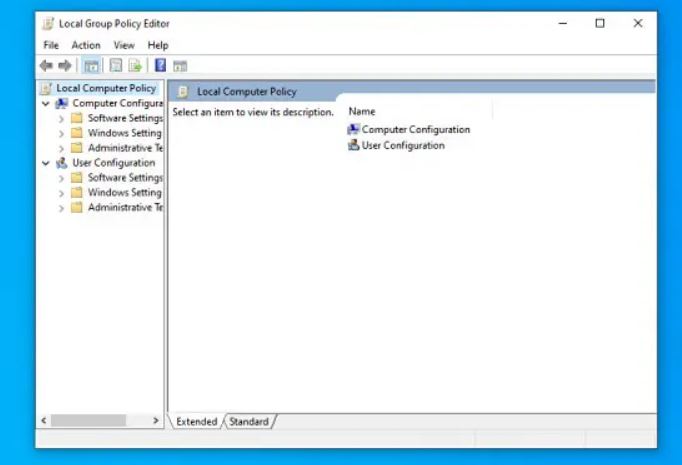
Step 1: Open the Local Group Policy Editor. To open the Local Group Policy Editor, type gpedit.msc into the Search box, and press Enter. Click OK to confirm that you’re opening the correct policy editor.
Step 2: Navigate to Computer Configuration\Administrative Templates\Start Menu and Taskbar. Select Show the following items on the Start menu and task bar. This setting allows you to choose whether or not to show certain items on the Start menu.
Step 3: Scroll down to “Show the following items on the start menu.” Check the option next to “Windows Live Messenger,” and select Yes.
Step 4: Click OK to save changes. Restart your computer to see the change take effect.
What Are the Possibilities of Group Policy Editor?
Group policies allow you to configure all aspects a computer system including software installations, hardware configurations, and even how Windows boots up and shuts down. They can also prevent unauthorized changes to the operating systems files, Registry, and folders. These settings are enforced by Group Policies.
There are many different ways to use Group Policies. For example, you can set group policies to require users to change passwords every 90 days, block access to certain sites, or force computers to connect to corporate networks during off hours.
You can also use Group Policies to enforce good practices such as requiring antivirus software to be installed and keeping track of what programs are running on each machine.
If you work for a large organization, it might make sense to outsource some of the administration tasks to Microsoft. If you want to learn more about Group Policies, read our guide to Group Policies.

Tim Wiley was a tech writer for seven years at Recode. In that time, he covered everything from basic browser.js and URL parameters to XHRs, performance, malware, security, enterprise apps, social media, and Windows secrets. He also written about how to hack Signal in 2016 and how to resist, or possibly even conquer, the zero-day threat.