Enable or Disable the Built-in Administrator Account on Windows 11
Right-clicking the Start button brings up the Start menu. From there you can access many different features of Windows 10. One of those features is the ability to log into the built-in Administrator account. This account gives you full control over the computer and allows you to do things like install programs, change system settings, and perform administrative tasks. You don’t want to use this account because it could give hackers access to your PC. If you’re worried about someone gaining unauthorized access to your machine, here are some steps you can take to disable the built-in Administrator.
1. Open Settings.
2. Click Accounts.
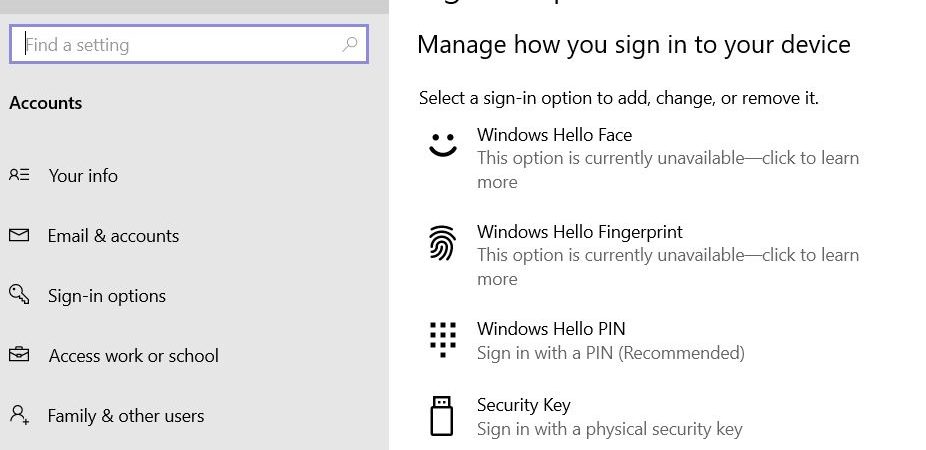
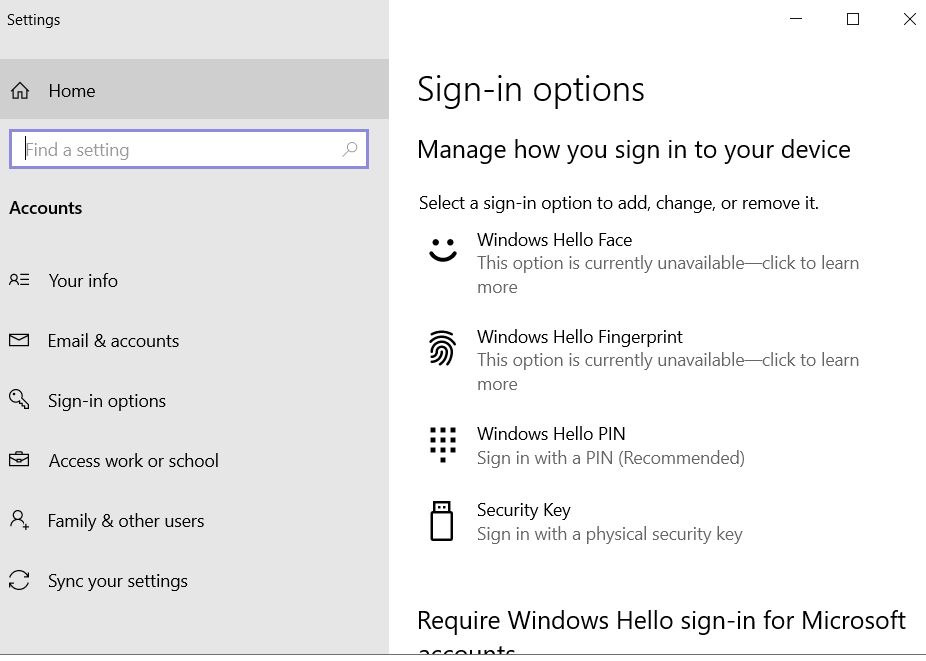
3. Select Sign-In Options.
4. Scroll down to User accounts and select Change password.
5. In the Password box, enter a new password.
6. Make sure the “Require complex passwords” checkbox is selected.
Why Is the Integrated Administrator Account Required?
A builtin Administrator account is helpful for installing software and configuring network settings. However, it can also pose security risks. If you use the builtin Administrator account, make sure that you are aware of what actions you take.
What is a built-in administrator account good for?
Builtin Administrator Account gives you complete control over your computer. You can change the desktop wallpaper, install programs, configure network settings, and much more. This tutorial explains how to use it.
Use Powershell to turn on or off the built-in administrator in Windows 11
The builtin Administrator account exists on every Windows 10 PC. This account is used by Microsoft to manage system settings and security features. You can enable or disable this account via PowerShell.
This guide will show how to use the Set-LocalUser cmdlet to enable or disable the builtin administrator account.
#1. Open up powershell and type “Set-LocalUser -Account Disabled”.
#2. Type “Get-LocalGroup | Select Name”, look for Administrators group. If there isn’t one, add it manually.
#3. Add the name of the builtin admin account to the list of members of the Administrators group.
#4. Close out of powershell.
#5. Restart the computer.
1. Enable Local User and Groups’ Built-in Administrator Account
If you want to use the built-in Administrator account, follow these steps:
Select the Users folder.
Right-click the name of the local Administrator account.
Click Properties.
Under the General tab, select the Allow this user to administer this computer check box.
Click OK.
Repeat step 3 for each additional account you want to allow access to the system.
Click Add groups. In the dialog box, type the group name, such as “Domain Admins.” Then select the appropriate permission level. For example, if you want domain administrators to be able to modify network settings, select Domain Admins. Click OK. Repeat steps 4–6 for each additional account you wish to give administrative privileges.
2. Using Command Prompt, enable the built-in administrator account
To change the password of the default administrator account, open the Command Prompt window and type the following command:
net user administrator /active:yes
The above command enables the built-in administrator account. You can now logon to the Windows system as the built-in administrator.
Note: If you are unable to login as the built-in adminstrator, try logging off and logging back on again.
If you want to create another administrator account, use the following command:
Net user administrator /add
This command creates a new administrator account.
3. Using PowerShell, enable the built-in administrator account
The default Windows 10 installation includes a built-in administrator account named LocalSystem. If you want to use this account, you must enable it. You cannot delete it; however, you can change its password. To do this, run the following command:
Enable-LocalAccount -Name “Administrator” -PasswordNeverExpires $true
This enables the local administrator account. Next, we’ll show you how to add another user account.
# Create New User Account
To create a new user account, run the following command. You can specify the home directory path where the user account will reside. By default, the home directory is located under %USERPROFILE%. For example, if you’re creating a test user account called TestUser1, the home directory location would be set to %USERPROFILE%\TestUser1.
4. Set the Local Security Policy to allow the Hidden Admin Account.
To enable or disable an admin accounts, type secpol. msc into the Run box. Press Enter. Click “Local Policies”, expand “User Rights Assignment”. Right-click “Administrative Templates”, select “Add/Remove Templates…”, and add “secpol.msc”. Select “OK” to apply changes.
There is no way to turn it off in Windows 10 Home Edition because Microsoft does not support disabling the admin account.
When unable to sign in to Windows 11, how to activate the built-in administrator account
Windows 10 offers a built-in Administrator account that allows system administrators to perform administrative tasks without needing to sign in to the operating system. However, it is disabled by default. If you cannot sign in to Windows 10, you can enable the hidden Administrator account. Here are the steps to do so:
1. Boot into Safe Mode
2. Unhide the Administrator Account
3. Log Off
4. Restart the Computer
5. Login As Administrator
6. Perform Administrative Tasks
Utilizing the Windows 11 Hidden Administrator Account
There is an Admin account hidden within every Windows installation. This account is disabled by design, but you can easily reenable it if needed. You can use this account to perform administrative tasks such as installing software, changing settings, etc. However, disabling this account helps prevent unauthorized access to your computer.

Tim Wiley was a tech writer for seven years at Recode. In that time, he covered everything from basic browser.js and URL parameters to XHRs, performance, malware, security, enterprise apps, social media, and Windows secrets. He also written about how to hack Signal in 2016 and how to resist, or possibly even conquer, the zero-day threat.