Full Fix: Default Printer Keeps Changing on Windows 10
If you’re having trouble getting your default printer to stick around, it might be because there are multiple printers connected. In fact, according to Microsoft, there could be up to five different printers attached to your PC. If you want to keep things simple, you can use the “Set as default” option to make one particular device your default printer. But what happens if you try to set another printer as your default printer? You’ll see a prompt asking whether you really want to change the default printer. Clicking yes will cause the current default printer to disappear and the new one to take over.
There are several ways to stop this behavior. Here are some tips to help you choose the best method for your needs.
1. Disable the Printer Driver
You can do this manually by opening Device Manager and disabling the printer driver. When you open Device Manager, look under Universal Serial Bus controllers. Right-click on the printer name and select Uninstall. Then restart your computer.
2. Remove the Printer Driver
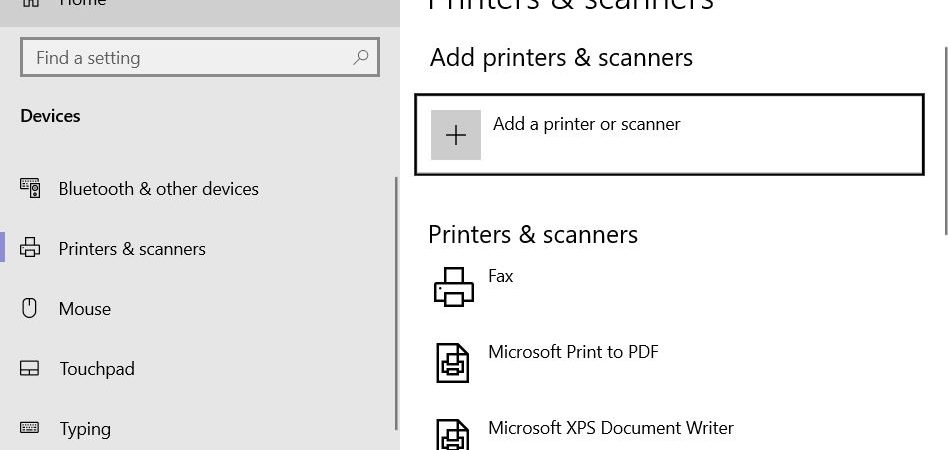
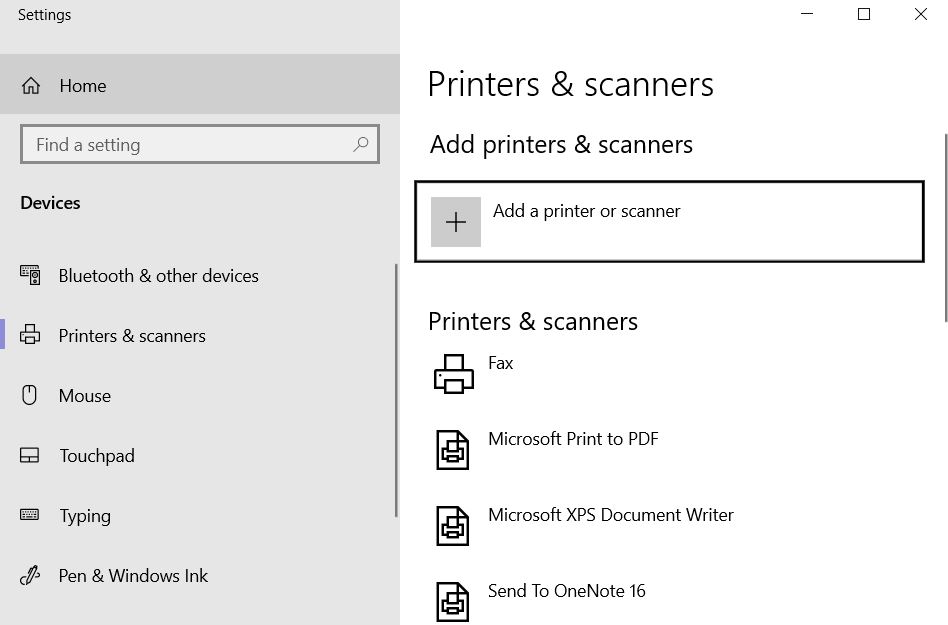
This is probably the easiest way to go about fixing the problem. Open Control Panel, select Hardware and Sound, and then Printers and Faxes. Select Add a printer, enter the information requested, and then follow the prompts to install the driver. Once installed, restart your computer.
3. Change the Default Printer
Solution 1 – Deactivate the option Allow Windows to manage your default printer.
Windows 10 will automatically manage your printer if you don’t turn off the “Let Windows manage my printers” setting. If you don’t want Windows to do this, follow these steps:
1. 2. Click Change PC settings.
3. Select Manage default devices and set the option to Off.
4. Restart your computer.
5. You’re done.
Solution 2 – Using the Registry Editor, modify the printer settings.
If you want to keep your default printer set to one specific device, it’s possible to do so without having to manually select it each time you print something. This article explains how to change the default printer in Windows 10.
The default printer is stored in the registry under HKEY_CURRENT_USER\Software\Microsoft\Windows NT\CurrentVersion\Printing. If you don’t know where to find the registry key, open up the Registry Editor and navigate to HKEY_CURRENT USER\SOFTWARE\MICROSOFT\WINDOWS NT\CURRENTVERSION\PRINTING. There are three subkeys here: DefaultPrinter, PrinterDriver, and PrintProcessor. Each of those keys contains a string value named DeviceName.
To make changes to the default printer, simply replace the existing string value with another name. For example, if you wanted to use the HP LaserJet P1005dn printer, you’d type “HP LaserJet P1005dN” into the Value data box. To revert back to the original default printer, just delete the entire entry.
You’ll notice that some printers aren’t listed in the list of devices. This is because the manufacturer hasn’t installed drivers for those printers. In most cases, this isn’t a problem since you can still print to those printers anyway. However, if you’re trying to print to a particular brand of inkjet printer, you might run into problems.
In this case, you’ll need to install the appropriate driver yourself. Fortunately, many manufacturers provide free downloads for their printers online. Just look for the download link on the product page.
Solution 3 – Remove the printer software from all printers.
There are many ways to solve this issue. One of the easiest methods is to uninstall the printer software for all the printers you use. This method works best if you don’t have multiple printers installed on your computer. If you do have multiple printers installed, it might be better to try Solution 2.
If you’re having trouble uninstalling the printer software, here are some steps you can follow:
1. Click “Uninstall a program”.
2. Locate the name of the printer software and select it.
3. Click “Remove”, and wait while Windows removes the software.
4. Restart your computer once the removal process completes.
Solution 4 – Remove any previous printer connections from your registry.
Old printer connections can cause problems when you use Windows 10. If you are having issues printing documents, try deleting these entries from your registry. This solution will help fix the problem.
1. 2. Type regedit into the box and press Enter.
3. Expand HKEY_LOCAL_MACHINE\SOFTWARE\Microsoft\Windows NT\CurrentVersion\Printing\Printers.
4. Locate the entry named Default Printer Name. Delete it.
5. Restart your computer.
6. Print something out again.
Solution 5 – Examine your USB and power cables.
The most common problem with printers is that they don’t work properly because of damaged cables. A simple check of the cables you use to connect your printer to your PC can save you hours of troubleshooting. Here are some tips to help you identify potential issues.
1. Power Cable
Check the power cord. If it looks like it has been cut, try replacing it.
2. USB Cable
Make sure that the end of the cable is firmly attached to the port on your computer. Also make sure that there is no slack in the connection.
3. Printer Port
If you’re having trouble connecting your printer to your computer, make sure that the port is free and clear. You might want to open up the case and look inside to see if anything is blocking the port.
Solution 6 – Manually configure the default printer
Users report that the default printer settings change frequently, making it difficult to print properly. If you are having issues printing documents, try setting the default printer manually. Click the Change button next to the name of the current default printer. Then select the printer you want to use as the default printer.
Solution 7 – Install the most recent updates.
Check for updates regularly to ensure your computer stays secure. You might want to do it every day. If you don’t, you risk being hit by malware. Malware can cause serious problems like slowing down your PC, crashing programs, deleting files, etc.
Your printer could be causing issues. This happens because printers are designed to work well with Windows XP, Vista, and Windows 7 operating systems. They aren’t compatible with newer versions. So, if you use a printer that doesn’t support Windows 10, you might experience some issues.
Restarting your PC after updating it should fix the issue. But sometimes, restarting isn’t enough. In those cases, you need to reboot your machine. To do that, press Ctrl+Alt+Del keys together and select Reboot Now.
Solution 8 – Set up a new user account.
If you are having trouble printing documents, it could be because you are trying to print something from the wrong printer. If you are logged into multiple accounts, you might want to switch accounts. This way, you can access different printers without logging out. To do this, just select the Print option from the File menu. Then choose Change Printer Settings. You will see a list of all your printers. Select the printer you wish to use and press OK. Now, go to the File menu again and choose New User Account. A window will open where you can enter your email address. After entering your information, press Next. In the next step, you will be asked whether you want to import contacts. Choose Yes and continue. Finally, you will be prompted to confirm your password. Enter it and press Finish. Your new account will now be ready to use.
Solution 9 – Run a System Restore.
If you ever wanted to go back to a previous version of Windows, there’s a way to do it without having to reinstall everything. This process is called a system restore. You can use this feature to roll back changes to your operating system, such as installing a program or changing settings. If you don’t know how to perform a system restore, here’s what you need to do.
Step One: Make sure you have a backup of your important files.
You can make a backup of your computer by creating a complete image of your hard disk. To do this, follow these steps:
1. In the dialog box that appears, select the checkbox next to “Clean up system files.” Then click OK.
2. After completing the cleanup, restart your computer.
3. Once your computer restarts, open File Explorer and navigate to %SystemDrive%\Windows\Recovery.
Change the default printer in the Windows Registry.
Windows 10 uses the “Print Management” applet to let you choose what device prints documents. You can use it to print directly to a networked printer, or to a local printer. If you want to make sure that every document printed ends up on paper, you’ll probably want to change the default printer. Here’s how.
1. Open Print Management
2. Click Change settings
3. Select Printer
4. Choose the printer you want to be the default printer.
5. Click OK.
6. Restart the computer.

Tim Wiley was a tech writer for seven years at Recode. In that time, he covered everything from basic browser.js and URL parameters to XHRs, performance, malware, security, enterprise apps, social media, and Windows secrets. He also written about how to hack Signal in 2016 and how to resist, or possibly even conquer, the zero-day threat.