How to Add/Remove Startup Programs on Windows 10
There are several ways to disable start up programs in Windows 10. This includes disabling all startup applications or just specific ones. Disabling startup programs will improve performance and reduce boot time.
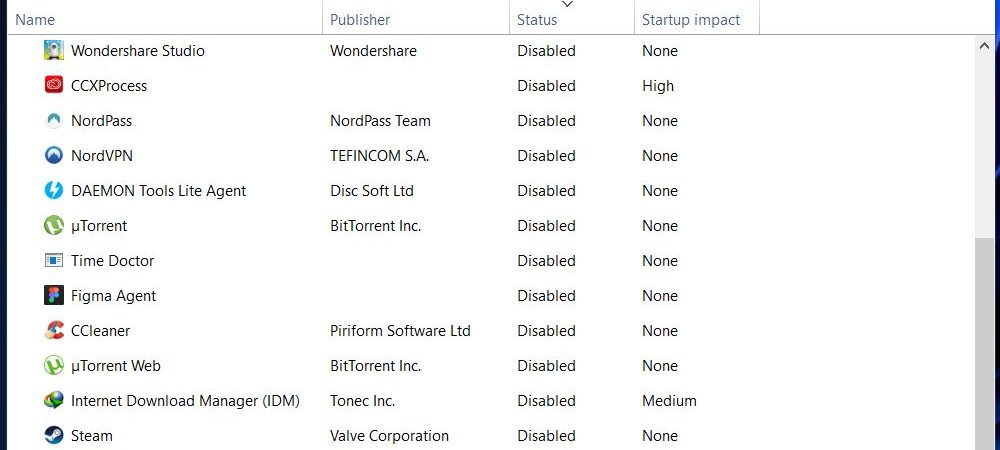
Disable Startup Apps and Programs in Windows 10
Windows 10 includes several built-in tools to help you manage startup applications. You can easily stop unwanted programs from starting up automatically. If you want to prevent certain programs from running every time you start your computer, here’s how to do it.
1. Click Change settings that are currently unavailable.
2. Select Allow apps to run during boot.
3. Uncheck Turn screen off when inactive for.
4. Restart your PC.
1. Using the Settings menu, disable startup programs.
If you’re tired of having programs like Facebook Messenger, Spotify, Skype, etc., pop up every time you turn on your computer, there are ways to stop it. Here’s how to disable startup programs using Windows 10 settings.
This will prevent the login screen from displaying anything.
Step #1 – If you’d still like to keep some of those programs running, just go to the same place and change the setting to “Show logon info.”
Step #2 – Reboot your PC to make sure everything works fine.

2. Using Task Manager, disable startup programs.
Windows 10 allows you to control what programs start up when you turn on your computer. This article explains how to do it.
You can use Task Manager to stop programs from running at startup. If you want to make sure that a program doesn’t run every time you boot up, just open Task Manager and select the Processes tab. Right-click on the process name and choose “Disable.”
Scroll down to find the program you want to hide and uncheck the box next to it. Click OK and restart your PC.
3. Remove Apps from Windows Startup Folder
Right-click on the Start Button and select “Run Command Window”.Type shell: startup and press Enter.Click on the startup folder and delete the app you don’t want to runat startup.
Startup Programs That Slow Down Your PC
If you’re like most people, you probably don’t want every app that opens up automatically when you turn on your computer. But it seems like there are always some apps that start up even though you didn’t ask them to. And while you might think those apps aren’t important enough to bother stopping, they actually do slow down your system. Here’s how to stop unwanted apps from starting up automatically.
Step 2: Click “Change settings that are currently unavailable.”
Step 3: Scroll down to find “Automatic startup”. Select the option that says “Turn off automatic startup”, and hit OK.
Step 4: Reboot your computer.
Step 5: Check out our guide to see how to make sure that everything else starts up properly.
How to Include Startup Programs in Windows 11
Windows 10 introduced a feature called “Startup.” This allows you to quickly start programs without having to open up the Start menu. But what if you want to add a program to startup every single time you log into your computer? Or maybe you just want to make sure a certain program starts up each time you boot up your system. There are many ways to do this, but we’ll show you how to do it with one simple trick.
Step 1: Open the Start Menu and type “startup”. A list of options will pop up.
Step 2: Click on the option labeled “Change settings that are specific to this user.”
Step 3: Scroll down to the bottom of the window and look for the section titled “Add a program or file to start when you sign in.”
Step 4: Click on the “+” button next to the text box and select “File location.” Navigate to where you saved the.exe file you wish to run.
Step 5: Select the checkbox next to the.exe file name and click OK.
Step 6: Repeat steps 2-5 for any additional applications you’d like to add to startup.

Tim Wiley was a tech writer for seven years at Recode. In that time, he covered everything from basic browser.js and URL parameters to XHRs, performance, malware, security, enterprise apps, social media, and Windows secrets. He also written about how to hack Signal in 2016 and how to resist, or possibly even conquer, the zero-day threat.