How to Create a New User Account and Transfer all the Data to it?
Windows 10/11 allows you to move files and folders between accounts. You can use either method to do it. Method 1 requires you to log into both accounts simultaneously. This makes it difficult because you must remember what you did on each computer. If you forget something important, you could lose access to your files.
There are many tools available to help you transfer files between computers. Here are some of the most popular ones:
1. WinSCP
WinSCP is a free FTP client that supports SFTP and SCP protocols. It lets you connect to remote servers and upload and download files.
2. Cyberduck
Cyberduck is a cross-platform FTP client that supports SFtp and FTPS protocols. It offers drag & drop support, multiple connections, and a built-in web server.
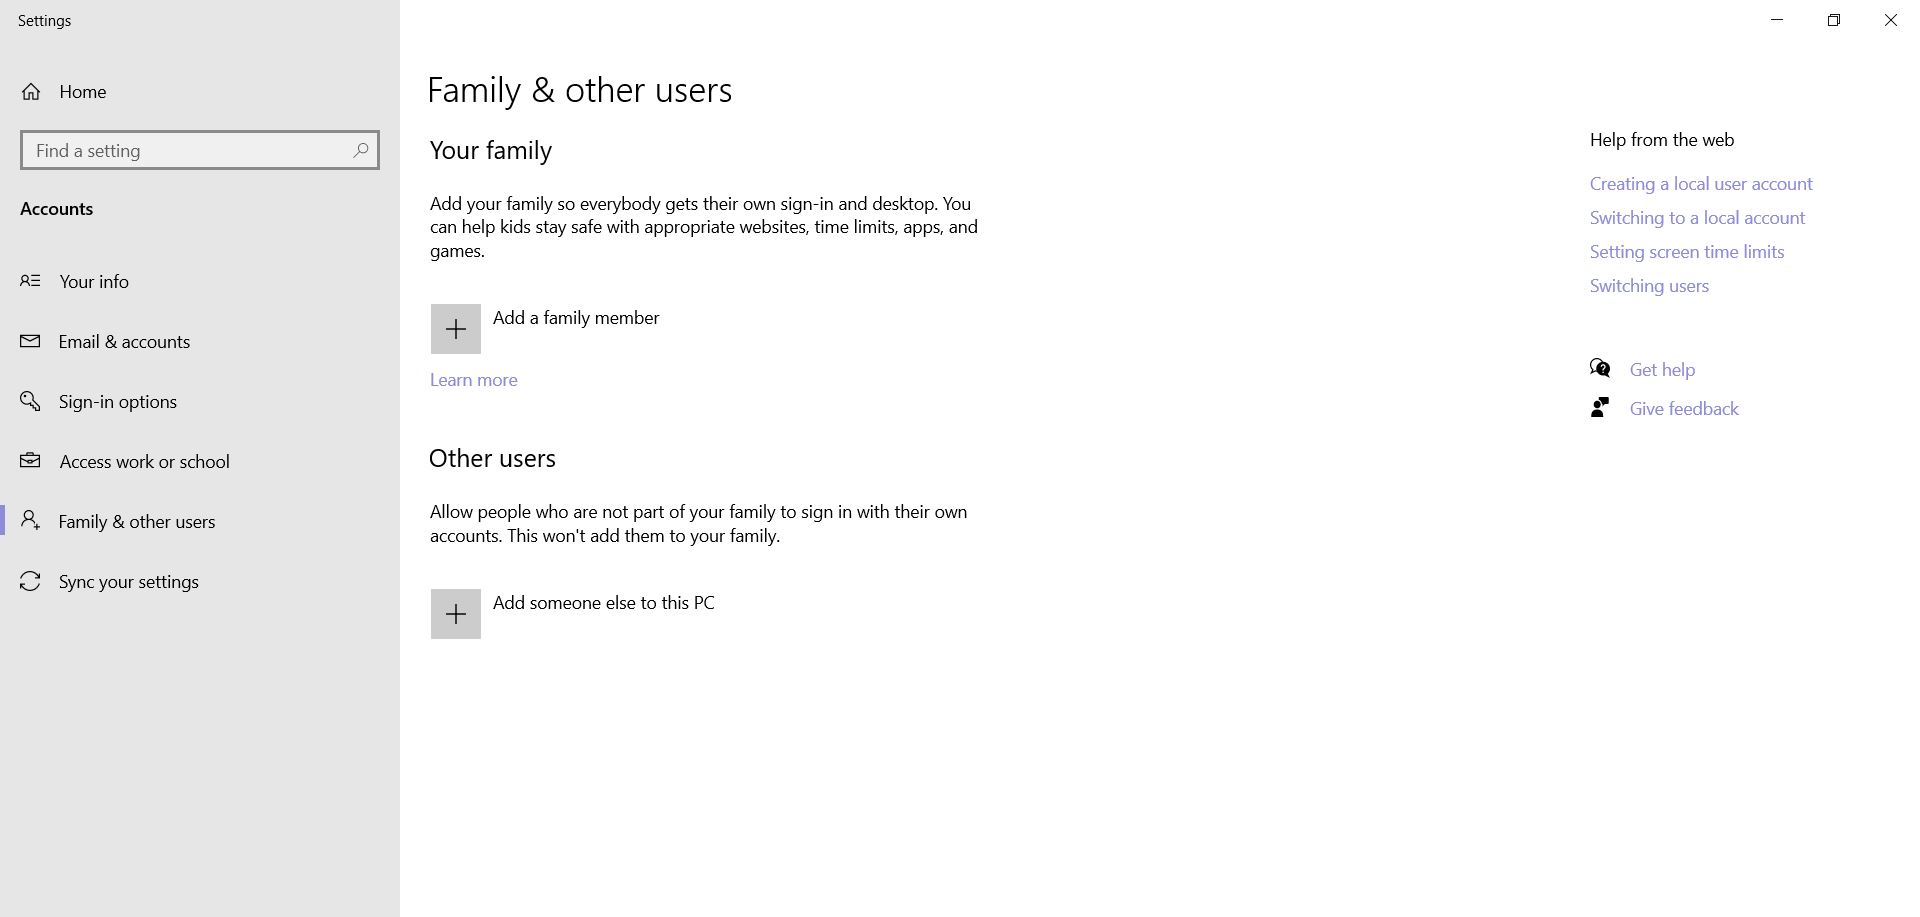
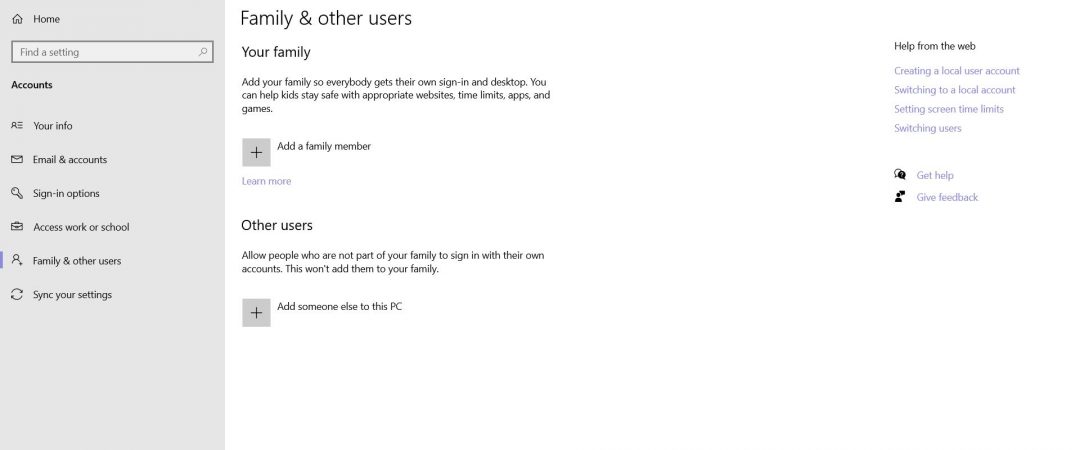
How Do I Set Up a New Local Account?
If you want to use Windows 10 without logging into your Microsoft account, you’ll need to create a local account. This guide explains how to do it.
In Windows 10/11, how do I move files from one user to another?
When you switch between accounts, it’s easy to forget about what you had open in the previous session. You might want to keep some of those files handy, though, because there are several ways to move files from one account to another. Here’s how to do it.
1. Copy and Paste
If you just want to copy and paste files from one account to the next, simply press Ctrl+C to bring up the context menu and select Cut. This works great for small files like images, videos, and music, but it won’t work for larger files like spreadsheets, presentations, or documents.
2. Drag and Drop
You can drag and drop files directly from one location to another. To start, make sure both folders are selected. Then, hold down Shift while dragging the file over the destination folder. If you release the mouse button, the file will automatically be copied.
3. Share Your Documents
Another option is to use Microsoft Office Online. You can even add a personal note to the link. Once you’ve done that, you can email the link to yourself or anyone else. They’ll be able to view the document without having to install anything.
Two Methods for Moving Data from One Account to Another in Windows 10/11
There are many ways to move files from one account to another. You can use a USB stick, a cloud storage, or even email it to yourself. But what happens if you want to transfer data from one account to another on the same computer? There are several methods to do this. Let’s take a look.
Method #1: Use Windows Easy Transfer Tool
The easiest way to transfer data from one PC to another is to use Windows Easy Transfer tool. This tool allows you to easily copy files from one location to another. All you need to do is connect both accounts via Wi-Fi and select the source folder. Then choose where you want to save the file. After that, just press Start button and follow the instructions.
Method #2: Copy Files Manually
If you don’t want to use Windows Easy Transfer Tool, you can simply copy files manually. Just open File Explorer and navigate to the destination folder. Choose the destination folder and hit OK.
Method #3: Move Files Using FTP Client
Another option is to use an FTP client like WinSCP. If you already know how to use FTP, then you can try this method. Otherwise, there are plenty of tutorials online that show you how to set up and use an FTP server. Once you’ve done that, you can access the FTP server from anywhere and download files from it.
Easy User Account Data Transfer Tool for Windows 10/11
This free software allows you to quickly transfer files between two computers. You don’t even need to install it on both machines. Just plug the cables into the devices and start transferring files. If you want to use the Wi-Fi connection, just connect the two computers to the same wireless router.
The program supports multiple operating systems, such as Windows 7/8/10, macOS Sierra, iOS 8/9/10, Android 4.4 KitKat, Linux Mint 17/18/19, Ubuntu 16.04 LTS, Debian 9 Stretch, CentOS 7/6/5, Fedora 22/21/20, OpenSUSE 13.1/12/11, FreeBSD 12/11/10, NetBSD 5.0/4.0/3.2, OpenSolaris 11/10/09, OS X El Capitan/Yosemite/Mavericks/Lion/Snow Leopard, ChromeOS, and others.
Transferring Data from One User Account to Another on a Different Windows 10/11 PC is a Guide.
When you transfer data between different computer systems, there are many methods. You can use a USB flash drive, external hard disk, or even a cloud storage account. However, we recommend using the PC to PC method because it is faster and easier to set up. If you want to transfer data from one user account to another, you need to make sure that both computers are connected to the same local area network (LAN). Then, follow the steps below to transfer data manually, automatically, or in batches.
1. Select the source folder
2. 3. Right-click the connection icon and choose Properties.
4. In the General tab, check the box next to Allow file sharing.
5. Click OK.
6. Open File Explorer and navigate to the location where you want to save the files.

Tim Wiley was a tech writer for seven years at Recode. In that time, he covered everything from basic browser.js and URL parameters to XHRs, performance, malware, security, enterprise apps, social media, and Windows secrets. He also written about how to hack Signal in 2016 and how to resist, or possibly even conquer, the zero-day threat.