How to Delete System Error Memory Dump Files
Memory dumps are used to help diagnose system problems. They’re often stored in the Windows\System32 folder. If you want to delete one, it must be opened. You’ll see a list of files inside the file. Select the ones you don’t want to keep and hit Delete.
If you accidentally deleted a file, you can use Recuva to recover it. This tool works well even if the file isn’t accessible because it doesn’t require administrator privileges.
What Are Minidump Files and Memory Dump Files?
Windows stores information about what happened during a crash in a special folder called the System Event Log. If you want to see it, open up the event viewer. This folder contains several types of logs, including system error logs, application error logs, and security log events.
The most important type of log is the system error log. Every time your computer crashes, Windows writes down some information about what went wrong. This information is stored in a file called a memory dump. A memory dump is just like a regular text document; it’s a collection of information written out to disk. However, unlike normal documents, a memory dump file doesn’t store anything useful. Instead, it contains everything that caused your computer to crash.
If you ever lose access to a memory dump file, you might be able to recover it. To do this, you must use a tool called MiniTool Partition Wizard. This program allows you to restore a damaged partition table. Once you’ve done this, you can run the WinHex editor to view the contents of the memory dump file.
A second type of memory dump is called a minidump. Unlike a memory dump, a minidump isn’t simply a collection of information. Instead, it’s a complete snapshot of your entire computer’s state. This includes every process running on your machine, along with all of the resources used by those processes.
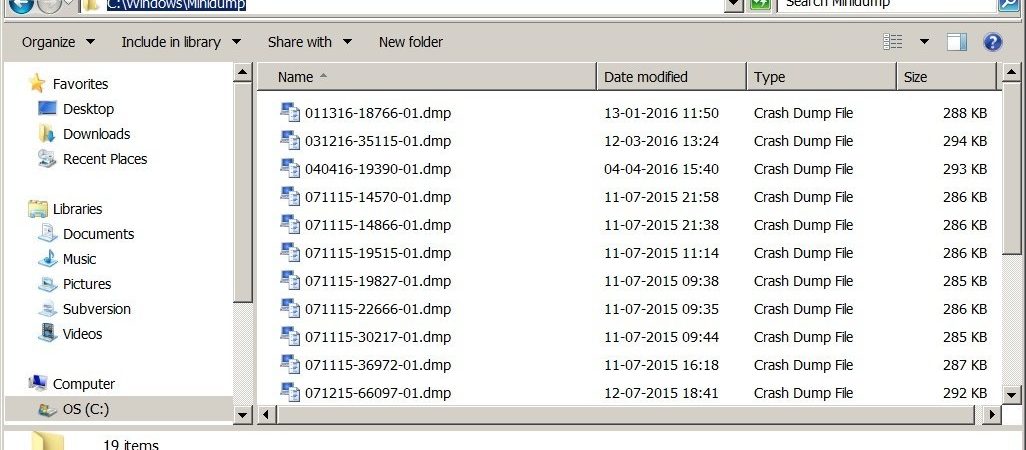
You can find minidumps in the same place where you found memory dumps. In fact, you can even open minidumps directly inside the event viewer. But there’s one problem with minidumps: they’re much larger than memory dumps. For example, a typical minidump file is around 2GB in size. Because of this, you shouldn’t share minidumps with anyone else.
Windows 10 deletion techniques for memory dump files:
Delete system error dump files with Revo Uninstaller Pro
Revo Uninstaller Pro is a powerful tool for cleaning up unwanted programs, including those that are left behind after uninstalling software. This program allows you to easily clean out temporary files, cache, cookies, history, browsing data, and much more. You can use it to clean up your computer without having to reinstall Windows.
Remove system error dump files with Disk Cleanup
Disk Cleanup is a free utility included with Windows 7 and 8/8.1 operating systems that helps you manage hard drives and solid state drives. With this tool, you can find and delete old files, recycle space, defragment disks, and optimize storage.
Erase system error dump files with Windows Settings
Windows Settings is a built-in feature of Windows 10 that lets you access important information about your PC and apps installed on your device. In addition to providing detailed information about your hardware components, Windows Settings includes options to change your default browser, set your screen brightness, adjust your volume, turn Wi-Fi on or off, and more.
Turn off crash dumps with Task Manager
Revo Uninstaller Pro can be used to remove system error dump files.
To remove the system dump files you must run Disk Clean up. After running Disk Clean up, check the options to ensure that there are no errors or warnings. If there are, delete the system dump files with RevoUninstallerPro.
Revo Uninstaller Pro is a free utility designed to help uninstall programs that cannot be uninstalled normally. You can use it to clean out unwanted software, including those that cause problems such as spyware, adware, browser hijackers, and potentially unwanted applications.
Disk Cleanup can be used to clean system error dump files.
Disk Cleanup is a free tool included with Windows 10 that allows you to clean up temporary files, recycle bin items, and even delete old log files. You can use it to clear out space on your hard disk, fix errors, and speed up performance. This article explains how to use Disk Cleanup to quickly clean up your computer.
System error dump files can be deleted using Windows settings.
Open the Start menu and click Computer. Select properties and then open the Storage tab. If you see the System Reserved partition listed, it probably contains some important data. You don’t want to lose anything there. To prevent this, you’ll need to delete the system error memory dump files and system error minidump folders.
To do this, follow these steps:
1. Right-click the System Reserved partition and choose Properties.
2. Under the General tab, check the box next to “System reserve.” This will allow you to access the contents of the partition.
3. Now, under the Advanced tab, click the Change button.
4. Choose the Remove Files button.
5. Confirm the removal of the files.
6. Close the window and restart your computer.
Using Command Prompt, delete system error dump files
System error dumps are used to help diagnose problems with Windows systems. They contain information about the state and configuration of the operating system and installed software. Deleting these files will stop any future errors from occurring and allow you to continue working without interruption.
To delete the system error dump files, open the command prompt window and type the following commands:
From the File Location, remove memory dump files.
Open the Start Menu and type “Control Panel” in the search bar. Copy the location of the dumped files and open run by clicking Win + R and paste the dump file location and hit Enter. Select the MEMORY.dmp file and delete it permanently by hitting Delete button. Restart your computer, and the dumps will be removed.

Tim Wiley was a tech writer for seven years at Recode. In that time, he covered everything from basic browser.js and URL parameters to XHRs, performance, malware, security, enterprise apps, social media, and Windows secrets. He also written about how to hack Signal in 2016 and how to resist, or possibly even conquer, the zero-day threat.