How to Hide Device Security Area in Windows 10/11?
Windows 10 introduced Device Security in November 2017. This tool helps you manage all the devices connected to the computer. You can view information about the device such as manufacturer, model number, serial number, firmware version, operating system, etc. You can even disable the device remotely. If you don’t like the security features, you can easily hide it from the Start menu. Here are some steps to do that.
1. Open Settings app.
2. Select the device you wish to hide.
3. Scroll down and select Show Details.
4. Click Hide button.
5. Confirm the changes.
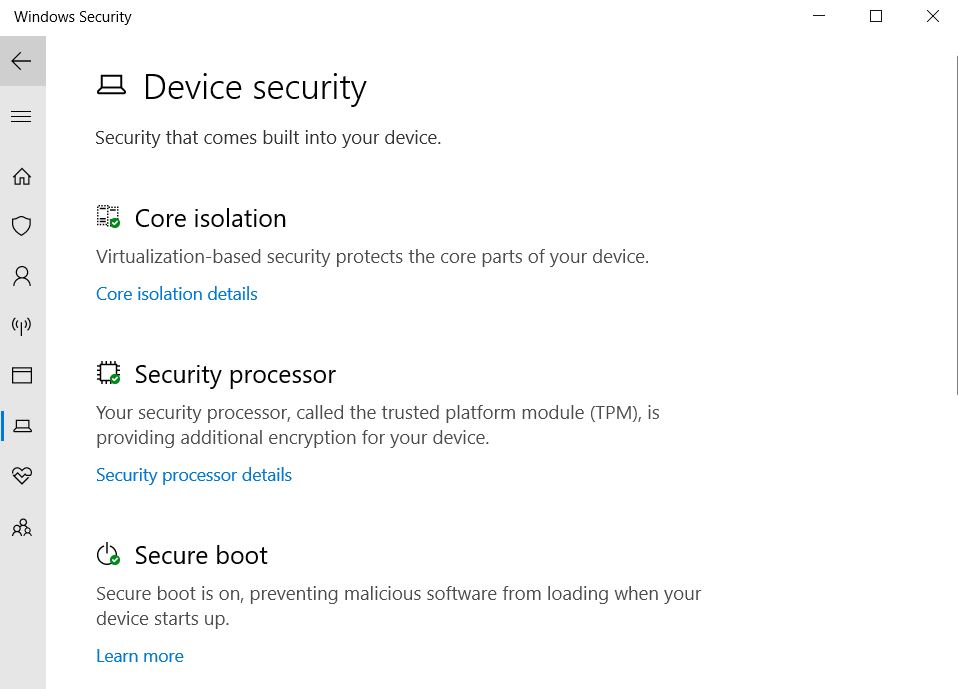
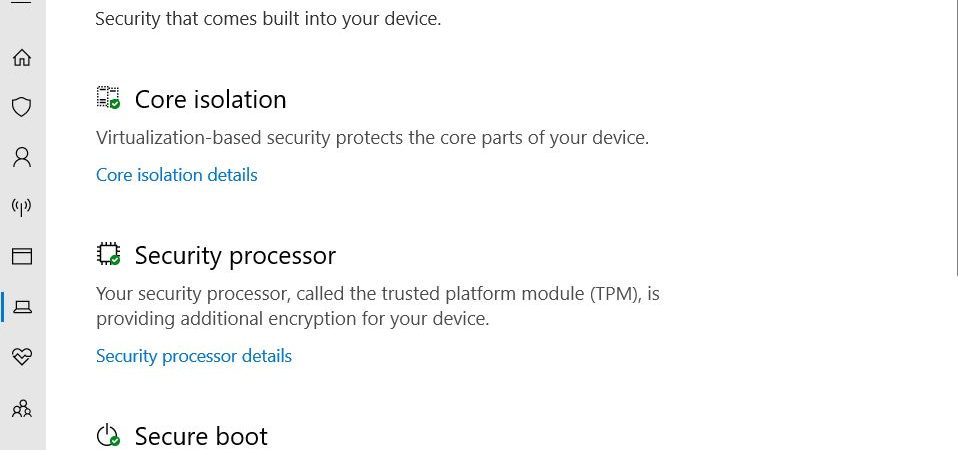
Windows 11/10 Device Security
Windows 10 devices are now protected against malware attacks thanks to Microsoft’s new security feature called Device Guard. In addition to protecting your PC against malicious software, it also helps protect your privacy.
This video explains how Device Guard works and why it is important to use it. You’ll learn about the following topics:
• What is Device Guard?
• How does Device Guard work?
• Why should I use Device Guard?
• When do I need to enable Device Guard?
• What happens if I don’t enable Device Guard?
Messages that may appear in Device Security
The following are messages you might see while configuring your device for secure boot.
Device Security requires that your computer meet certain requirements for hardware security. These requirements include:
• A processor that supports Intel® Trusted Execution Technology (Intel® TXT).
• An operating system that supports Secure Boot.
• A BIOS version that includes support for Secure Boot.
If your computer does not meet these requirements, you will receive one of the following error messages:
• “This PC doesn’t meet the requirements for hardware security.”
Your device satisfies the criteria for enhanced hardware security.
The TPM Firmware Update Notification dialog box appears when your computer detects that it needs to update the Trusted Platform Module (TPM). This happens because the TPM has been upgraded to a newer version. You might see this dialog box even though you haven’t received a notification email. If you don’t want to install the upgrade, you can clear the checkbox next to “I accept the terms of the software license agreement.”
You can also choose to ignore the dialog box. However, doing so could cause problems later. For example, Windows Defender won’t let you run some programs without installing the updated TPM firmware.
If you are prompted to update the TPM, follow the instructions in the dialog box. Otherwise, skip ahead to step 8.
To ensure that you aren’t accidentally upgrading the wrong TPM firmware, open the Start menu and type tpmfwupdate.exe. In the list of files returned, look for the file name that matches the model number of your computer.
For example, if your computer has a TPM chip with a model number of 0x0C00, the file name will be tpm_0c00.exe. Double-click the file to start the process.
Note: If you have multiple TPM chips, you’ll need to use the same method to determine which one you want to update.
Once the installation completes, restart your computer.
All Secured-core PC features are enabled on your device.
The Security Center provides information about the security settings on your Windows 10 devices. This includes information about the operating system version, hardware, software, network connections, and much more. If you are signed into your Microsoft Account, you’ll see additional information such as your personal profile picture, email address, and recent activity.
Or, you can open it from the Start menu by typing “sec”.
Hardware security is not supported by default.
The Windows 10 October 2018 Update includes a feature called “TPM 2.0 Firmware Updates.” If enabled, it recommends updating the Trusted Platform Module (TPM). But there are some things you need to know about how this works.
If you’re running Windows 7 or 8.1, you don’t need to worry about this. However, if you’re running Windows 10, you might want to check out our guide to disabling the TPM 2.0 feature.
You can’t clear the TMP status without administrator permission. This is because the TPM is part of the motherboard chipset. So, even though you can turn off the feature, you still need to run the BIOS/UEFI setup utility to clear the TPM status.
Users can’t clear the TMM status without administrator permission. As mentioned above, the TPM is part the motherboard chipset. And since the TPM isn’t removable like a hard disk, you can’t just unplug it and wipe it clean.
You can prevent users from clearing the TPM status. In fact, Microsoft doesn’t recommend doing this. Instead, you should set up group policies to prevent users from accessing the TPM settings.
On your Group Policy management computer, you should disable the “Clear TPM Status” option. Then, you should also disable the “Recommend TPM Firmware Updates” option. This policy change won’t affect other devices or computers. Because the TPM is part your motherboard chipset, you’ll need to make sure that no other devices or computers are affected by this policy change.
How to Display and Hide Device Security
If you want to show or hide the device security area in Windows 10, follow these steps.1. Open the Start Menu.2. Type “Device Security.”3. Select “Show/Hide Device Security Area.”4. Click “OK.”5. If you want to hide it, select “Hide,” otherwise select “Show.”6. Click “OK.”7. Close the Start Menu.
Hide Device Security Using the Registry
The enterprise customization allows you to configure the device security area in the Windows 10 operating system. In addition, you can choose the three settings in the enterprise customization, including “Hide the device security area,” “Display the device security area,” and “Show the device security area.”
You can use the registry editor to modify the value of HKEY_LOCAL_MACHINE\SOFTWARE\Microsoft\Windows NT\CurrentVersion\DeviceSecurity\UserData\ContactInformation\DefaultGroupName. You can change the default name of the group to make it easier to identify groups.
Display Device Security Using the Registry
The Windows registry contains information about how Windows works. This includes settings such as default programs, startup options, and hardware configuration. You can use the regedit tool to view and modify the contents of the registry. However, you must know what you are doing because modifying the wrong setting could cause serious problems. For example, deleting files without knowing where they are located could corrupt important system files.
In addition, some malicious software uses the registry to hide itself from antivirus scanners. Malware authors often change the registry to make it look like normal operating system functions. They do this to avoid detection by anti-malware tools.
If you want to see the current state of the registry, open the Start menu and select Run. In the Open box, type regedit and press Enter. A window opens showing the contents of the registry, including the following sections:
HKEY_LOCAL_MACHINE\Software\Microsoft\Windows NT\CurrentVersion\Winlogon
HKEY_CURRENT_USER\Software\Microsoft\Office\16.0\Common\AutoUpdate
HKEY_CUSTOMERS\Software\Microsoft\Internet Explorer\Main
HKEY_CURRTORENT\Software\Microsoft\Active Setup\Installed Components

Tim Wiley was a tech writer for seven years at Recode. In that time, he covered everything from basic browser.js and URL parameters to XHRs, performance, malware, security, enterprise apps, social media, and Windows secrets. He also written about how to hack Signal in 2016 and how to resist, or possibly even conquer, the zero-day threat.