How to Hide the Virus and Threat Protection Area in Windows 10?
Windows Defender Antivirus is one of the most important parts of Windows 10 and Windows 7/8.1. Users can access Virus and threat protection directly through the Start menu, and there are several ways to control how much information you want to make public about your computer. This guide explains what Virus and Threat Protection is, how to turn it off, and how to find out more about it.
Virus and Threat Protection is a built-in feature of Windows 10 and Windows Server 2016.

Windows 10’s virus and threat protection
Microsoft announced today that it is releasing a new version of Windows 10, dubbed Windows 10 November 2018 Update, that brings some big changes to the operating system. One of those changes is the addition of Microsoft Defender Advanced Threat Protection (ATP), a new security feature that combines antivirus, antimalware, and firewall capabilities into one package. This makes it easier for people to protect themselves against cyberattacks without having to install multiple products separately.
The update also adds several new features to Windows Hello, including support for facial recognition, iris scans, and fingerprint readers. In addition, Windows Hello now supports biometric authentication across many different platforms, such as PCs, tablets, smartphones, Xbox One, and HoloLens headsets.
Windows 10 November 2018 Update also introduces a number of improvements to Cortana, Microsoft’s digital assistant. For example, it now understands natural language better, and it can perform actions like sending messages and making calls. It can even help you find nearby restaurants and book reservations.
Finally, Windows 10 November 2018 Update provides improved performance and reliability, along with a few bug fixes.
For more information about what’s included in the update, check out our full review here.
Virus and threat protection can be displayed or hidden in Windows Security.
The Windows 10 Fall Creators Update includes a feature called “Virus & threat protection.” This tool allows administrators to show or hide specific security settings in the Windows Security Center. These include things like privacy controls, firewall rules, and anti-malware protections.
Users can still find these options via the Windows Security Center. Instead, you’ll need to open up the Windows Security Center.
GPEDIT allows you to display or conceal virus and threat protection in Windows security.
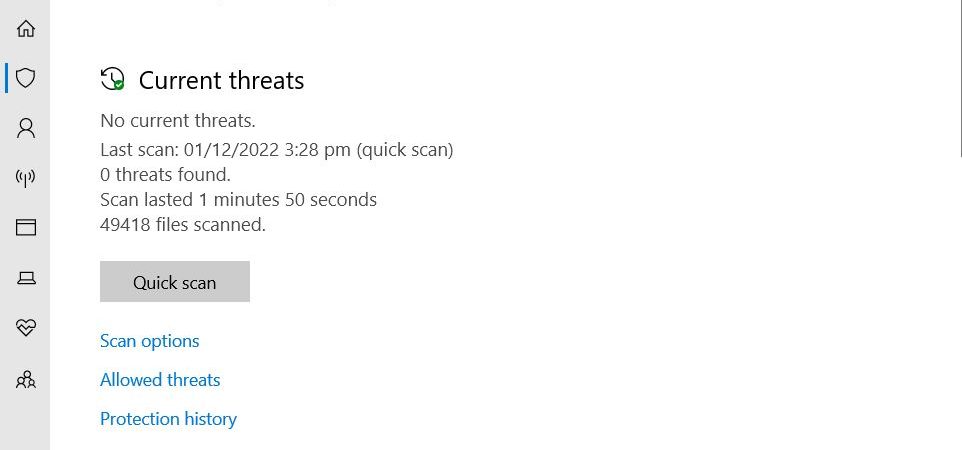
Users can easily find out how many active threats are detected in Windows 10. They can also see how many times each threat was found. Users can easily find how to disable account protection in Windows 10. They just need to open the Group Policy Editor (Gpedit.msc). Then, navigate to Computer Configuration\Windows Components\Account Policies\Password policy and double-click the Password settings item. Finally, uncheck Account lockout threshold.
Users can easily turn off virus & threat detection in Windows 10.
Hide virus and threat protection in Windows Security by modifying the registry.
Windows 10 includes a built-in antivirus solution called Windows Defender. This tool scans files and emails for viruses and malware, and it can even quarantine suspicious items. However, there are times when you want to disable this functionality. For example, if you’re running a virtual machine, you don’t want to scan every file that passes through the VM. Or maybe you just don’t trust Microsoft’s anti-virus program. In either case, you can hide the virus & threat protection features within Windows Security.
The registry key that controls the visibility of the virus & threat protection is located under HKLM\Software\Microsoft\SecurityCenter\VirusProtection. If you want to make changes to this setting, open up the registry editor and navigate to this location. Then, change the value to 0x0 (zero). You’ll see the following warning pop up: “This action cannot be undone.” Click OK to continue making the change.
Now, restart your computer to test out the new settings. When you launch Windows Security again, you won’t see the virus & threat protection options. Instead, you’ll find the standard security options like Firewall, Networking, Privacy, etc.
If you’d rather keep the virus & threat protection enabled, simply set the value to 0x1 (one). Now, you’ll see the virus & threat protections area within Windows Security.
Display virus and threat protection in Windows Security through the Registry
The following steps are required to show virus and threat protection in Windows Security.
1. Type regedit in the box and press Enter.
2. In the left pane, navigate to HKEY_LOCAL_MACHINE\SOFTWARE\Microsoft\Windows Defender\VirusScanner\Enabled. If you see Enabled, then there is no problem. Otherwise, follow the instructions below.
3. Name the value DisableVirusProtection and set the data type to REG_DWORD.
4. Set the value to 0x01. Click OK twice to exit both dialog boxes.
5. Close the Registry Editor.
6. Restart the PC.

Tim Wiley was a tech writer for seven years at Recode. In that time, he covered everything from basic browser.js and URL parameters to XHRs, performance, malware, security, enterprise apps, social media, and Windows secrets. He also written about how to hack Signal in 2016 and how to resist, or possibly even conquer, the zero-day threat.