How to Restore Processors In System Configuration in Windows 10
What Exactly Are Processor Cores?
Multicore processors are nothing new since they’ve been around since the mid-1990s. However, most modern operating systems and most resource-intensive software programs can take advantage of multicore processors. Some older software cannot take advantage of multicore processors. A processor core is a single unit of computation within a computer’s central processing unit (CPU). There are two main types of cores: general purpose and specialized. General-purpose cores are designed to perform many different tasks. Specialized cores are designed to perform one task very well. Multi-core processors contain multiple independent cores which work together to process data faster.
Activating CPU Cores in Windows
Multicore processors are supported out of the gate in all modern operating systems, including Windows 10. However, older versions of Windows require changing settings in your BIOS to enable it. If you don’t want to mess around with your motherboard, there’s rarely a reason to turn off core processing unless you’re experiencing problems with an application or driver that requires it.
Windows 10’s Core Settings
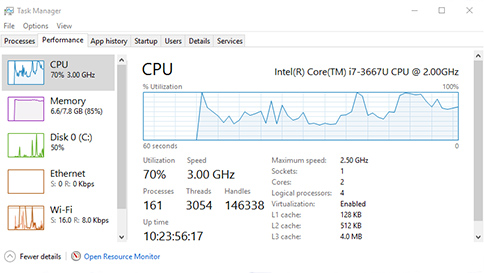
Windows 10 offers several different ways to manage your PC’s resources. You can adjust the number of cores available to programs running on the system, as well as the amount of RAM allocated to each program. This article explains what those options do, and how to use them.
Windows Vista, 7, and 8 Core Settings
HyperThreading creates two threads per CPU core. This feature makes it possible to execute two instructions simultaneously within each thread. A hyperthreaded system uses twice as many transistors as a dual-core system. However, there are some downsides to having two threads running at once. One downside is that the operating system must switch context between the two threads. Another drawback is that the performance of one thread degrades while another thread is active.
In addition to the drawbacks mentioned above, hyperthreading does not work well with certain applications. For example, video games do not perform well with hyperthreading because the game needs exclusive access to the CPU. Also, some software requires a dedicated core. These types of applications cannot take advantage of hyperthreading.
The good news is that you can control how much processing power each application gets. With core affinity, you can limit the amount of resources a particular process receives. For example, you could tell the operating system to give a particular program four times as much memory as the others.
You can also use the task scheduler to schedule processes to run on different cores. To do this, open up the Task Scheduler utility. Click Create Basic Task, enter a name for the task, select When I start this task, choose Run whether user is logged on or not, and then select Action. Choose Start a Program or Group of Programs. Select the program(s) you want to run and then click Next. On the next screen, choose How often do you want this task to repeat and then click Finish.
If you’re looking for something more complex, check out our guide to setting up a server farm.
Is it necessary to enable all cores in Windows 10?
Most people agree that you should turn on all cores on your computer because it helps performance. But turning off cores doesn’t really improve battery life. And underclocking the processor actually works worse than disabling cores. So why bother?
There’s nothing wrong with enabling every core on your system. In fact, most modern processors support up to eight cores. However, if you don’t know what you’re doing, you could end up causing problems. Plus, some applications won’t run properly unless you’ve got all your cores enabled.
If you’re running Windows 7, you’ll probably want four cores. Windows 8 supports up to six cores, while Windows 10 allows you to use up to eight.
The MSConfig window’s Boot tab
You can change how Windows starts using the Boot tab. The boot tab allows you to see configuration options that are included in the system information file. The Boot tab contains the following options:
- Safe boot: Minimal – Disables networking. Safe mode: Boots to Explorer (Windows user interface) only.
- Safe boot: Alternate shell – Disables networking. Safe mode: Runs critical system services only. Boots to the command prompt
- Safe Boot: Active Directory Repair – Similarity to minimal safe boot but with Active Directory enabled.
- Safe Boot: Network– Similar to a minimal safe reboot, but the network is active.
- No GUI Boot – When you boot, the Windows splash screen will not appear
- Boot log– Saves all information about the boot process in one file.
- Base video– Boots to Windows user interface using minimal VGA mode
- OS boot information — Shows the driver names as they are loaded during boot.
- Make all your boot settings permanent. System Configuration changes are not tracked. You will need to manually make any changes if you wish to make them later. If this feature has been selected, Normal startup will not work.
- Timeout – Msconfig can cause an operating system selection screen display for 30 seconds. This adds thirty seconds to the startup time. Change the Timeout field to zero to prevent the operating screen from appearing for 30 seconds upon startup.

Tim Wiley was a tech writer for seven years at Recode. In that time, he covered everything from basic browser.js and URL parameters to XHRs, performance, malware, security, enterprise apps, social media, and Windows secrets. He also written about how to hack Signal in 2016 and how to resist, or possibly even conquer, the zero-day threat.