How to Stop Windows from Automatically Installing Outdated Drivers
Stop Windows 10’s Automatic Driver Downloads
Automatic driver downloads are annoying especially when they don’t work properly, like they do sometimes. You might even find yourself having to download drivers manually again and again. If you want to stop automatic driver downloads on Windows 10, there are several options. Here are some of those options.
You can turn off automatic driver updates entirely by following these steps:
Scroll down to “Windows Insider Program.”
Uncheck the box next to “Allow apps downloaded from the Store to install automatically.”
Click OK.
Method 1: Turn off Automatic Driver Updates.
If you want to disable automatic driver updates, follow these steps:
1. Click Change settings under “For developers.”
2. Scroll down to find “Automatic driver updates,” and uncheck it.
3. Restart your computer.
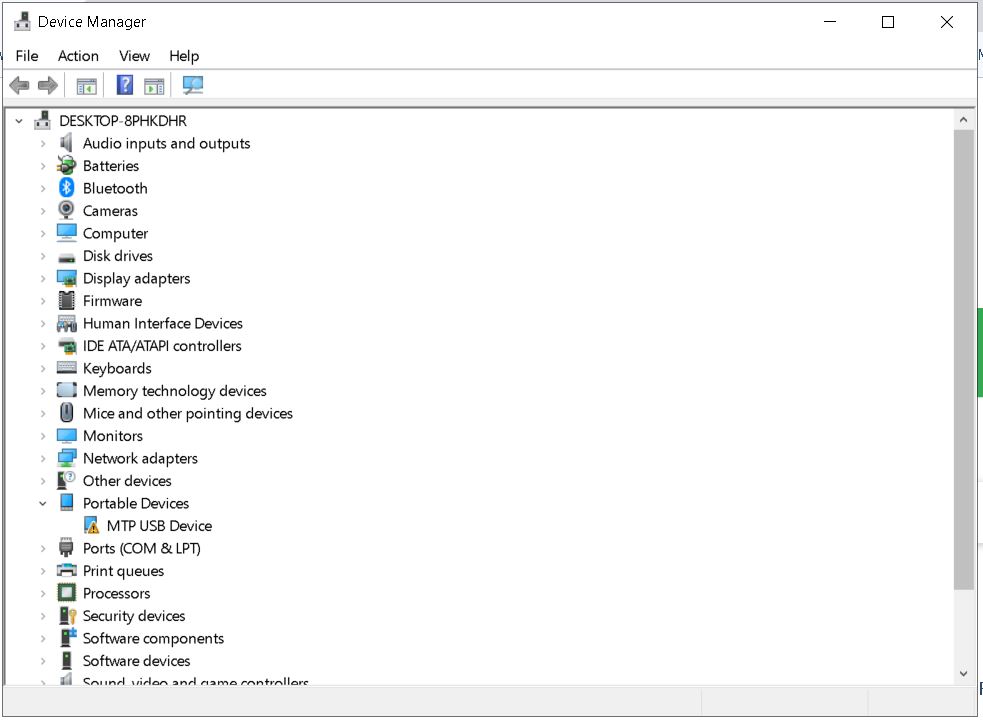
4. Go into Device Manager.
5. Right-click each device listed there, and select Properties.
Method 2: Show/Hide Troubleshooter in Windows Update
If you’re running Windows 7 or 8.1, there are some ways to hide the annoying “Windows Updates Available” notification. You’ll still see it in action, but it won’t bother you anymore. Here’s how to do it.
Step 2: Click the arrow next to “Show notifications about important updates.”
Step 3: Choose either “Never notify me,” “Notify me once per week,” or “Notify me every 30 days.”
You can also choose to turn off automatic updates entirely. Just make sure you know what you’re doing. If you’ve got a slow Internet connection, you might want to disable automatic updates altogether. Otherwise, you could end up downloading hundreds of megabytes worth of software.
Method 3: Using the Registry, disable Automatic Device Driver Update.
To disable automatic driver update on windows 10, you should change the value of Searchorderconfig to 0. You can do it easily by following the steps mentioned below.
1. Open Run dialog box by pressing Win+R keys together. Type regedit into the opened window and press Enter key.
2. Now navigate to HKEY_LOCAL_MACHINE\SOFTWARE\Microsoft\Windows NT\CurrentVersion\DriverStore\SearchOrderConfig.
3. Name the newly added DWORD value as DisableAutomaticUpdate. Double click on the newly added DWORD and set its value to 0. This step will disable the automatic driver update feature on your system.
4. Restart your system to make changes effective.
5. Select your device name under Hardware tab. Click on Properties button. In the properties window, go to Details tab and check whether there are any pending updates listed. If yes, then click on OK button to install those updates.
6. After installing the updates, restart your system again.
Method 4: Disable Automatic Driver Downloads Using Group Policy Editor
Microsoft has introduced a new feature called “Automatic Driver Downloads,” which allows users to download drivers for devices like printers, scanners, cameras, etc., directly from Microsoft Store. This feature is enabled by default on Windows 10 PCs. However, it can be disabled easily using group policy editor. Here are the steps you need to follow:
1. Open the Group Policy Editor by typing gpedit.msc into the Start menu Search box.
2. Navigate to Computer Configuration\Administrative Templates\Windows Components\Windows Update\Auto Download Settings.
3. Double-click Turn Off Auto Download Drivers.
4. Click OK to save changes.
5. Restart the PC.
6. You’re done! Now whenever you want to disable auto driver downloading, just repeat the above steps.
How to Use Group Policies to Prevent Windows from Updating Hardware Drivers
Windows 10 includes built-in support for automatic driver updates. This feature allows Windows to automatically download and install updated drivers for devices such as printers, cameras, and network adapters. However, there are times when it makes sense to disable this functionality. For example, if you have a device that doesn’t require frequent driver updates, you might want to turn off automatic driver updates. Or maybe you’re running a computer lab where students frequently use shared devices. In those cases, it’s best to keep Windows from installing new drivers.
You can do this easily using group policy. To configure group policy settings, open the Local Group Policy Editor (gpmc). Then navigate to Computer Configuration\Administrative Templates\System\Group Policy Objects\Drivers. Here you’ll see a list of all installed drivers. Select each one and change the setting to “Do Not Install.” When you’ve finished, save the changes and reboot the system.
If you’d like to make sure that the same settings are applied across all computers in your organization, you can create a domain GPO. First, open the Local GroupPolicy Editor (gpmc) and navigate to Computer Configuration\Windows Settings\Security Settings\Local Policies\User Rights Assignment. Then select the Allow the following actions regardless of group membership check
Using PowerShell, disable automatic driver updates in Windows.
The Windows Update feature allows computers to download and install software updates without requiring manual intervention. This process is known as “Automatic Driver Updating”. However, some people are concerned about the security risks associated with this feature. In fact, Microsoft does not recommend turning off Autodetection because it could cause problems with certain hardware devices.
In this article we’ll show how to turn off Automatic Driver Updating using PowerShell. We’ll start by looking at what exactly Automatic Driver Updating is and why it might be useful. Then we’ll look at how to find out whether Automatic Driver Updating is enabled. Finally, we’ll explain how to disable Automatic Driver Updating using a script.

Tim Wiley was a tech writer for seven years at Recode. In that time, he covered everything from basic browser.js and URL parameters to XHRs, performance, malware, security, enterprise apps, social media, and Windows secrets. He also written about how to hack Signal in 2016 and how to resist, or possibly even conquer, the zero-day threat.