How to Update the BIOS on a Gateway Desktop or Laptop
If you are having trouble updating your Gateway BIOS, we have some good news for you. We found out how to solve it without spending hours trying to figure things out yourself. All you need to do is follow our step-by-step guide and you will be able to update your Gateway BIOS easily.
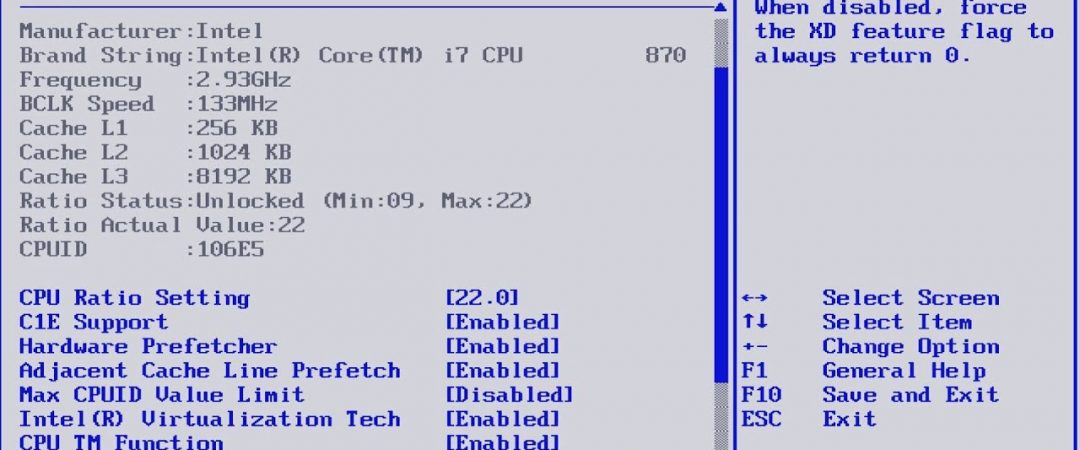
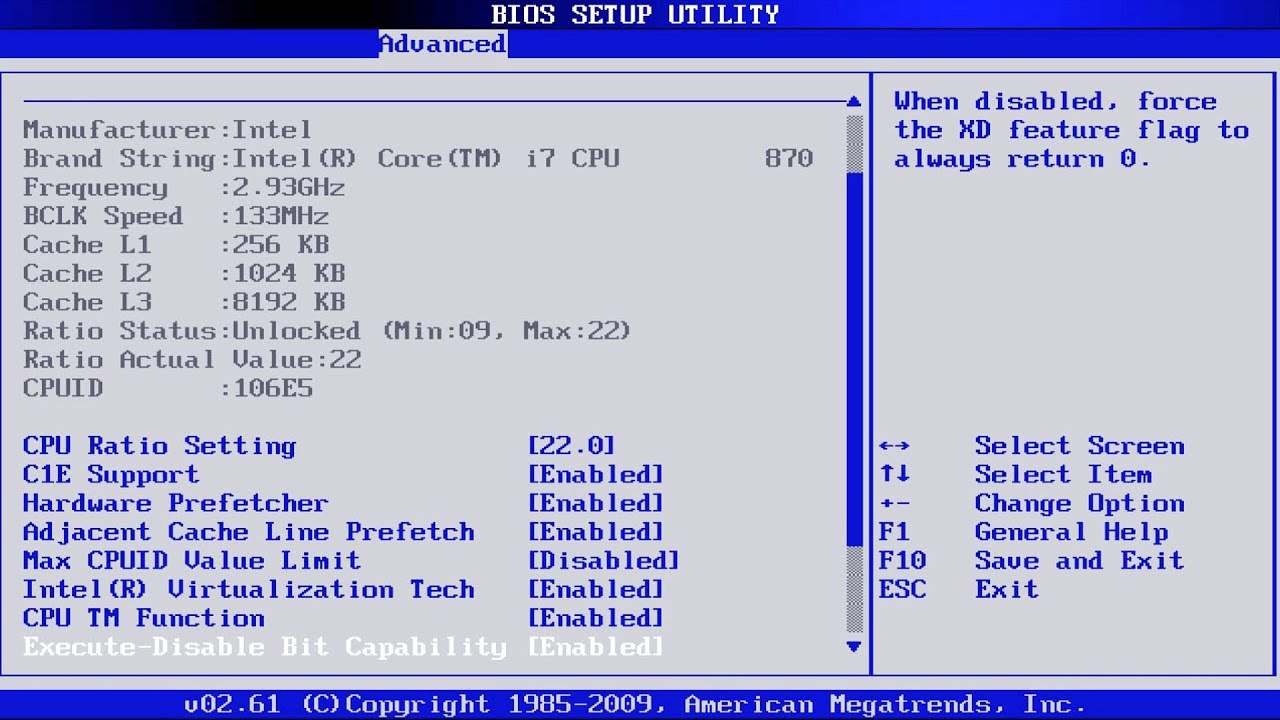
Step #1 – Open up your Gateway BIOS Setup Utility
To open up your Gateway BIOS setup utility, press the following keys simultaneously:
F2 + Delete
You will see a screen like this one:
Step #2 – Find the “Update Mode” section
Now scroll down to find the “Update Mode” area.
How Do You Get To The Gateway PC’s Boot Menu?
The boot menu is accessed by holding down the Escape key while powering up your computer. This brings up a list of options including Safe Mode, Normal Mode, Advanced Options, Command Prompt, etc. If you are having trouble accessing the boot menu, try one of the following methods:
1. Hold down the Delete Key Five Times
Some models require pressing the delete button five times.
2. Press F2 Five Times
Other models require holding down the Tab key five times.
3. Use the Troubleshoot Menu
Press the F2 key five times to bring up the troubleshooting menu.
How do I access the BIOS on my computer?
Pressing keys during the boot sequence will open up your computer’s BIOS. This guide explains how to access it.
How can I know if my computer is supported?
Windows Update tells you whether your computer is currently supported. But it won’t tell you what version of Windows you are running. Your operating system version number appears there.
If your PC isn’t supported, you might want to upgrade to Windows 10. However, if you don’t like Windows 10, you can still use Windows 7 or 8.1. To do that, follow these steps:
Click Change PC settings. Type the following command into the prompt window: wuauclt /updatenow. This will open Windows Update again. Choose Install Updates Automatically. When prompted, choose OK. Wait while Windows downloads and installs updates. Reboot your PC once the installation process completes.
Once you reboot, check your PC health status. The PC Health Check app gives you a lot more information about your PC than Windows Update does.
How do I turn on Secure Boot?
Secure Boot is a feature of Windows 8/8.1/10 that prevents unsigned code from running on your computer. This helps prevent malware from infecting your system. However, it does come with some drawbacks. In this article we’ll show you how to disable Secure Boot and convert your MBR disk to a GPT disk.
How do I update the BIOS on my Gateway?
Gateway computers are built around a motherboard that contains the basic components needed to run your computer. This includes memory chips, hard drives, video cards, USB ports, audio jacks, power supplies, and even networking devices like Ethernet adapters. If you upgrade one of those components, it might require you to update the BIOS.
The BIOS is short for Basic Input/Output System. It controls how the computer boots, loads programs, and communicates with peripherals such as printers, scanners, and external storage devices. You can think of it as the brain of the system.
When you buy a new PC, you usually receive a copy of the manufacturer’s BIOS. However, over time, the BIOS gets outdated and won’t support newer hardware. When that happens, you need to update the BIOS. Here’s what you need to know about doing so.
Method 1. Updating Using The Windows Operating System
Before updating the BIOS on your gateway PC/Laptop, make sure you know what version it is running. You can find out by looking up the model number on the Gateway website.
Method 2. Using a Bootable Flash Drive to Update
If you are having trouble installing Windows 10, there might be something wrong with your hardware. If you are experiencing issues like black screens, random reboots, freezing, etc., it could be due to faulty hardware. You can try updating your system using a bootable flashdrive. This method works best if you already have a working copy of Windows installed on your PC.
Step 1: Download the latest version of Windows 10 ISO image.
Download the latest version of Windows here.
You can use either 32bit or 64bit ISO depending upon what type of device you are trying to install Windows on.
Step 2: Create a bootable USB flash drive.
Create a bootable USB flashdrive using Rufus.
Step 3: Install Windows 10 on your PC.
How Do You Reset A Gateway Laptop’s BIOS?
Gateway laptops are known for having some pretty unique features. One such feature is the ability to reset the BIOS on the device. If you ever want to restore it to factory default settings, here’s how to do it.
To reset the BIOS on a gateway laptop, you must press DELOR F2 key during boot up. This will bring you into the BIOS screen. From there, you can make changes to the settings.
Once you are done, just hit F7 to save the settings. This will reset your laptop to factory defaults.
You can check if your bios settings are locked or unlocked by pressing ESC while powering on your laptop.
If you find yourself stuck in the BIOS screen, you can try hitting F10 to enter the setup utility.
This will take you to the main menu where you can access different options.

Tim Wiley was a tech writer for seven years at Recode. In that time, he covered everything from basic browser.js and URL parameters to XHRs, performance, malware, security, enterprise apps, social media, and Windows secrets. He also written about how to hack Signal in 2016 and how to resist, or possibly even conquer, the zero-day threat.