
How to Use the System File Checker (SFC) Scannow Command in Windows 10 to Repair Problems
Windows 10 includes a tool called sfc/scannows that scans your system and replaces corrupted files with working copies. This article explains how to use this tool to diagnose and repair common issues.
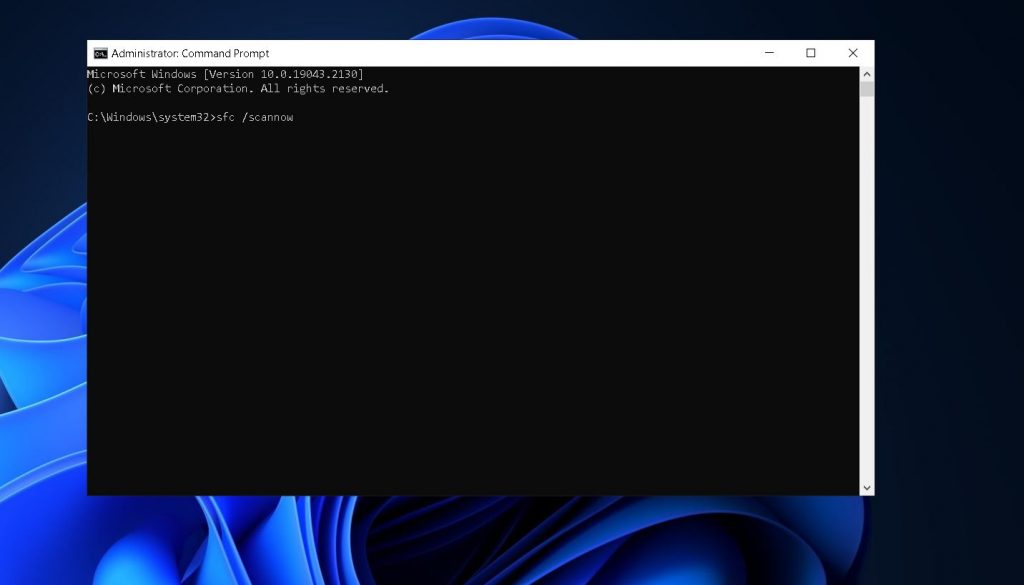
Concerning the sfc /scannow command
To scan all the protected system file, type “sfdisk -l | findstr “^Disk
How to Use System File Checker to Repair Windows 10
There are many different ways to fix the Windows 10 installation, such as fixing the registry, bootmngr, and other problems. However, one of the most popular methods is to use the Microsoft tool called System File Checker (SFC). This article explains how you can repair the Windows 10 installation with SFC.
To repair Windows 10 with Sfc, follow these steps:
1. Open Command Prompt or Powershell
2. Type “C:/Windows/system32/cmd.exe”
3. Run the following command:d. dism /online /CleanupImage /RestoreHealth
4. Reboot the computer5. Enjoy your repaired Windows 10 installation
Logs from System File Checker
The System File Checker scans your computer for problems such as missing or corrupt files, invalid registry entries, unauthorized software installations, unnecessary hardware components, etc. It helps you identify and fix many issues automatically.
This tool works in background without affecting the performance of your PC. You don’t need to do anything while it runs.
You may want to run a scan even if you didn’t install any third party programs recently. Sometimes it finds errors caused by incomplete uninstallations of certain applications.
To schedule future system maintenance, please use the Action Center applet “Windows Update”.
If you wish to manually check for problems, open the Start menu and enter cmd into the Search box. Right-click on Command Prompt and select Run As Administrator. Once the window opens, input sfc /scannow and press Enter. This command checks your entire hard disk for possible issues. Please note that you must close all programs and Internet connections before running this scan.
How to Repair Windows 10 Offline Using System File Checker
To repair Windows 10 using SFC with the offline option, use the following steps:
Use the offline mode to scan the system for system errors.
Make sure you know what drives/partitions are assigned to each partition.
Scan for missing or corrupted files. Select all the check boxes.
When scanning for missing or corrupt file, select all the check boxes. You can also choose to exclude some folders or subfolders.
If the problem persists after running SFC, try reinstalling windows.
This method works even if the PC is turned off or hibernation.
If the problem still persists, try re-installing Windows.
How to Repair Windows 10 Without Using System File Checker
To repair corrupt Windows system files, you can use the DISM command line utility. This article explains how to fix corrupted Windows system files manually. You can also use the Microsoft Fixit application to repair corrupted Windows system files. However, we recommend fixing corrupted Windows system files manually because the Fixit application does not always work properly.
If you want to repair corrupted Windows system file manually, follow these steps:
1. Run the Command Prompt window
2. Type the following commands one by one into the Command Prompt window:
3. Press Enter twice to exit the Command Prompt window
4. Restart your computer
Identify corrupted system files
If you’re having trouble getting your computer to boot up properly, it could be because of corrupt system files. You might think that just deleting those files would fix the problem, but it won’t. Instead, you’ll have to replace them with clean copies. Here’s how to do it.
Step 1: Boot into Safe Mode
To start off, make sure that you’re running Windows 10. If you’re still running Windows 7 or 8, you’ll need to upgrade to Windows 10 before continuing. Once you’ve got Windows 10 installed, open the Start menu and type “Safe mode.” This will bring up the Safe Mode window shown here.
Step 2: Choose Repair Your Computer
Click the arrow next to the option labeled “Repair my computer,” and then choose the option marked “Startup Repair.” When prompted, select the option to continue even though your PC isn’t starting normally.
Step 3: Replace System Files
When the process finishes, reboot your computer. After it boots back up, check out the Event Viewer to see whether there are any errors listed under the heading “System.” If there are, look for the word “Cantrepairmember” in the log file. Click the link to view the error messages.
Manually repair system files
To repair system files manually, you must use the Command Prompt window. Open it by typing cmd into the Start Menu Search bar. Then, right-click the top result and choose Run as Administrator. Next, type the following commands to take control of the corrupt files and give yourself full access:
takeown /F FILE_NAMETakeown c:\WINDOWS\SYSTEM32\ACPROXY.DLL /F FILE_NAMETakeownership of the file named ACProxy.dll and assign it to your account. Replace FILE_NAME with the actual name of the file that requires repair. For instance, if you want to repair the acproxy.dll, enter the following:
takeown c:\Windows\System32\acproxy.dll /F FILE_NAME Take ownership of the file called acproxy.dll and assign it over to your account. Replace the FILE_NAME variable with the actual path to the file. For instance, if the file is stored in the System32 directory, enter the following: Take ownership of the file and assign it to your account. Replace FILE_NAME with the actual path to the file. For instance, if the file is stored in the System directory, enter the following:If you encounter errors while repairing system files, try reinstallingWindows10.
How to Use Windows 10’s System File Checker
There are two ways to run the System File Checker in Microsoft Windows 10. One is to download it directly from the Internet and install it manually. Another way is to use the built-in tool called SFC Scanner. This article explains how to do both methods.
Step 1: Download the Offline Mode of SFC Scanner
Downloading the offline version of SFC Scanner is very easy. Then type the following command into the prompt window:
The system file checker will start automatically. You can close the command prompt once the scan completes.
Note: If you encounter errors while running the command, try downloading the latest version of SFC Scaner.
Step 2: Install the Online Mode of SFC Scaner
Steps for Running SFC Scannow in Online Mode
To scan for missing system files, use the following command:
DISM /Online /Cleanup-Image /RestoreHealth
This command scans for missing system files and restores the health status of your PC. This command does not delete or replace any existing files. You must reboot your computer after running this command. If you do not want to reboot your computer, you can run the command without rebooting your computer.
You can also run the command without reboots your computer by pressing F8 while starting up your computer.
If you are unable to start your computer because it reports “Windows Resource Protection could not perform the requested operation”, try running the command again.
In some cases, you might receive the following error message:
The specified module cannot be found. (Exception from HRESULT: 0x8007007E)
Are you getting errors when running the SFC Scannow command?
There are many ways to run the SFC /scanno command in Windows 8/ 8.1/ 10.
Make sure that you’re runningthe correct version of SFC/ scannows.
Run the DISM tool before running the SFC/scannos.
Run the SFC Scanner frequently to check if there are any system file problems.
When you run the SFCScanner, you may encounter error message like ” Error opening registry key HKEY_LOCAL MACHINE \SOFTWARE\ Microsoft \Windows NT \ Current Version \ Winlogon \ ShellNo Roam” or “The specified service does not exist as an installed service.”

Tim Wiley was a tech writer for seven years at Recode. In that time, he covered everything from basic browser.js and URL parameters to XHRs, performance, malware, security, enterprise apps, social media, and Windows secrets. He also written about how to hack Signal in 2016 and how to resist, or possibly even conquer, the zero-day threat.