Install Hyperterminal On Windows 7 [Full Guide]
HyperTerminal is one of my favorite programs. It allows me to connect to remote computers over serial ports, and it does it very well. Unfortunately, Microsoft stopped supporting Windows 7 in January 2016. Luckily, there are still ways to use HyperTerminal even though it won’t run natively on Windows 7. In this article, we’ll show how to port HyperTerminal to Windows 7.
The first thing you’ll want to do is download the latest version of HyperTerminal from here. You’ll need to unzip the archive because it contains multiple files. Once you’ve done that, you’ll see a folder called “HyperTerminal_x86”. Open up that folder and double-click on the file named “hyperterm.exe”. If everything went smoothly, you should now have a fully functional version of HyperTerminal running on Windows 7.
If you don’t have a copy of XP handy, you can always download VirtualBox from here. We’ll assume you already have a copy installed. Create a virtual machine and name it “Windows XP SP3”, make sure it uses the default settings, and set the RAM size to 512MB. Now launch it and follow the steps outlined below to decompress the ZIP file.
Once you’ve extracted the contents of the ZIP file, open up the folder labeled “HyperTerminal_Win7”. Double-click on the file hyperterm.exe to start the application. Congratulations, you just ported HyperTerminal to Windows Vista/XP!
How to Make a Hyperterminal Putty
Putty is an open source application that allows you to connect directly to serial ports over the Internet. In this article we show you how to use it as a HyperTerminal emulation.
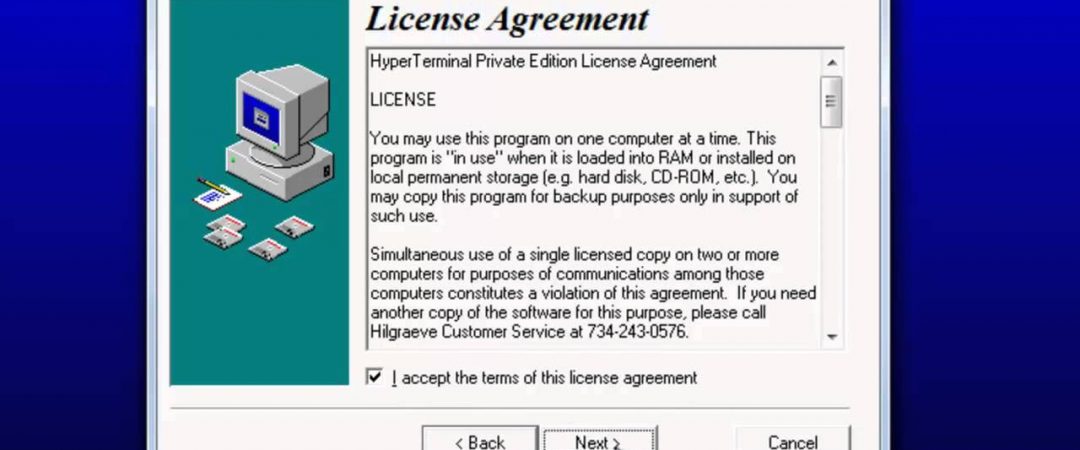
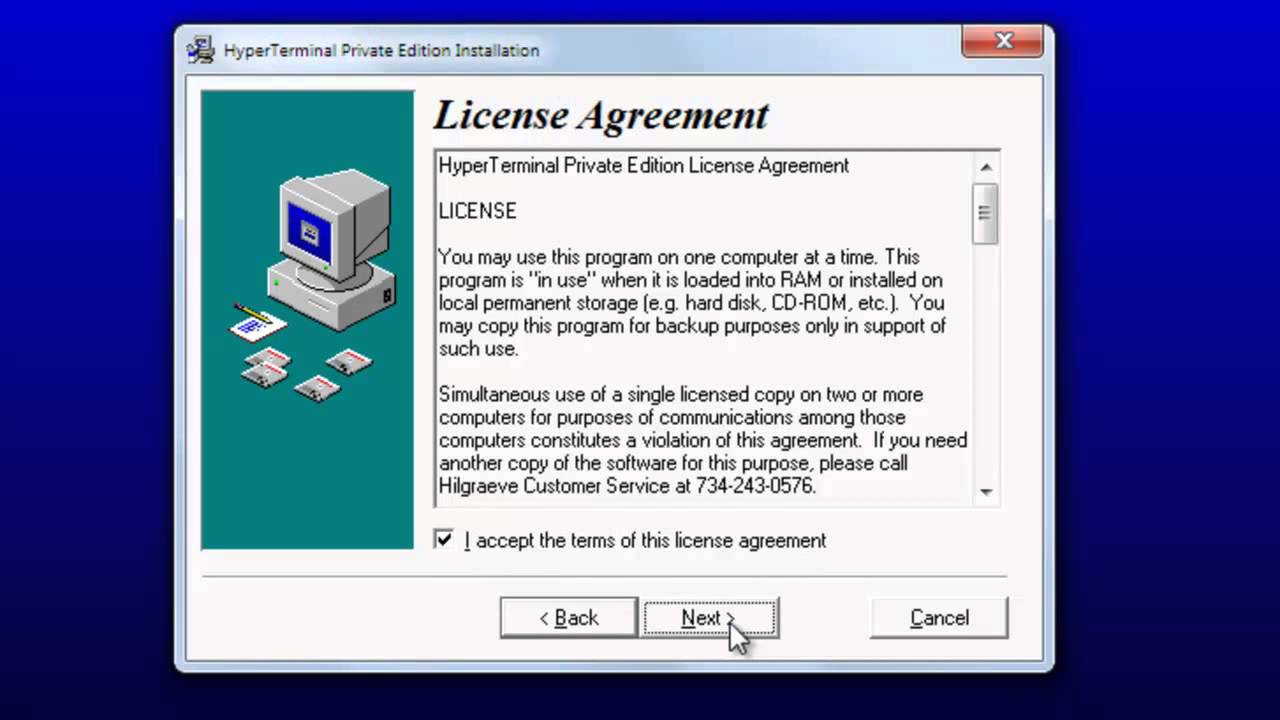
Hyperterminal Installation on Windows 7
Windows 7 came out in 2009. Back then, Microsoft had just introduced the Start Menu, which replaced the old Control Panel. This meant that the Control Panel was no longer needed, and many people removed it. As a result, there are some programs that you cannot find anymore. One such program is HyperTerminal, which is used to connect computers together via serial ports. If you want to use HyperTerminal, you must install it manually. Here is how to do it.
Step 1: Open File Explorer and go to the following location:
C:\Program Files\Microsoft Visual Studio 9.0\Common7\IDE
Step 2: Right-click on the folder called “Visual Studio 2010”, select Properties, and then click on the Uninstall button.
Step 3: Go to the folder where you installed HyperTerminal and delete the.exe file. You can now run the.exe file to open HyperTerminal.
Step One: Requirements.
HyperTerminal is a command-line utility used to communicate with devices such as modems, printers, and scanners. In this tutorial we are going to show how to use it to connect to a modem. We will start off by installing the software required to build this project.
Step Two: Locating the Files
Copy the file to another location. You’ll find the.exe and.dll files in the program files directory. Then locate the file named “AccessibilityServiceHostHelper.exe” and copy it to the same directory as the.exe file. Now locate the file named “Microsoft.Office.Interop.Outlook.dll”, and copy it to the System32 folder.
Step Three: The Files in the I386 Folder
The files in the I386 folder are used to build Windows XP SP2. If you want to install Windows XP Service Pack 2, you must download the I386 folder. If you don’t know how to use the I386 folder, please read our article about How to Install Windows XP Service Pack 2.
Step Four: Expanding the Copied Files
If you’re copying files from one computer to another, it’s easy to accidentally delete important information. To avoid losing anything, follow these steps:
1. Select the files you want to move.
2. Right-click on the selected files and choose “Copy.”
3. Click on the destination folder where you’d like to place the copied files.
4. Right-click on that folder and select “Paste.”
5. If there are any errors, fix them now.
6. Close the window and enjoy your newly expanded files.
Step Five: Remove Unnecessary Files
In Windows 10, there are many unnecessary files that take up space in your computer. You might think that deleting them won’t make much difference, but it actually does. Here’s how to find out what files are taking up too much room in your PC.
1. Open File Explorer.
2. Click “View,” then “Folder Options.”
3. Select “Show hidden items.”
4. Look for the following folders:
C:\Users\\AppData\Local\Temp
C:\Windows\Temporary Internet Files
Step Six: Run the App.
The process of setting up a home network is pretty straightforward. You just plug everything into the wall, turn it on, and wait for the magic to happen. But what happens when things go wrong? What do you do if there are no lights? Or if you accidentally unplugged something? If you’re like most people, you probably don’t know where to start troubleshooting. Luckily, we’ve got you covered. Here’s how to set up a home network without getting lost in the technical jargon.
1. Plug Everything In
First things first, make sure every device on your network is plugged in. Your phone, tablet, laptop, speakers, TV, etc., should all be powered on and connected to the same power source. If you want to use multiple devices simultaneously, make sure each one is plugged in separately.
2. Turn On All Devices
Once you’ve confirmed that all of your devices are plugged in, turn on each one individually. For example, if you have a smartphone, tablet, and desktop computer, turn on the smartphone first, followed by the tablet, and finally the computer. Once you’ve turned on all three devices, open the Settings menu on each one and select Wi-Fi. Make sure Wi-Fi is enabled on each device.
3. Connect To Your Router
Now that all of your devices have been turned on and Wi-Fi is enabled, it’s time to connect them to the router. First, find out what type of router you have. Most routers come with instructions, but here’s a quick guide for those that don’t:
Step 8: SETUP for Running
This tutorial explains how to install OpenVPN on Ubuntu 16.04 LTS. You’ll learn how to configure OpenVPN to work with your router.

Tim Wiley was a tech writer for seven years at Recode. In that time, he covered everything from basic browser.js and URL parameters to XHRs, performance, malware, security, enterprise apps, social media, and Windows secrets. He also written about how to hack Signal in 2016 and how to resist, or possibly even conquer, the zero-day threat.