
What is SMB1? Why Should You Disable it?
Microsoft enabled SMBv1, a legacy networking protocol, by default in all versions starting with Windows XP Service Pack 2. This makes it easy for attackers to spread malware via SMB shares.
In this article we’ll show you how to disable SMBv1 on Windows 10, 8, 7, Vista, Server 2008 R2, 2003, and XP. We’ll also explain why disabling SMBv1 is important for protecting your computer against attack.
SMB Protocol’s History
The Small Computer System Interface (SCSI), originally known as the Small Computer Systems Interface (SCSI), is a computer bus standard designed to connect peripheral devices such as hard disk drives, CD ROM drives, tape backup units, scanners, printers, modems, digital cameras, video cameras, and others. SCSI was introduced in 1983 by International Business Machines Corporation (IBM). In 1987, it became a de facto industry standard.
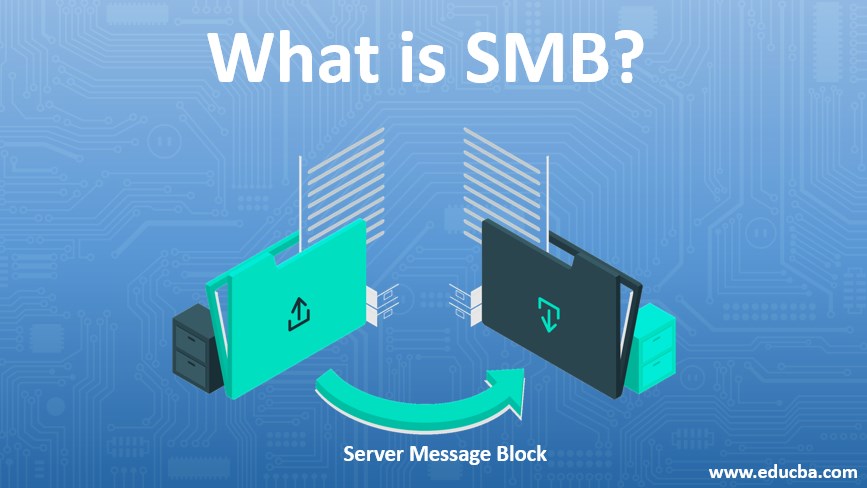
In 1988, IBM began developing a successor to SCSI, the Network Attached Storage (NAS) protocol, which was renamed as the Server Message Block (SMB) protocol in 1992. The original version of the SMB protocol was released in 1993. Version 2.0 was released in 1995, followed by 3.0 in 1997. Version 4.0 was released in 2003.
Version 5.0 was released in 2009. This release included several improvements including support for IPv6 addressing, improved performance, and better security. Version 5.1 was released in 2013.
Dialects or Versions of the SMB Protocol
The SMB protocol has undergone several changes since it was originally developed in 1984. These changes include the introduction of different dialects of the protocol, such as SMB 1, CIFS, SMB 2, SMB 3, etc. Each dialect offers specific features and functionality that make it better suited for certain types of file sharing scenarios. For example, SMB 2.0 provides security features, while SMB 3.0 supports encryption.
Disabling SMB 1 has the following effects:
The SMB protocol version 1 (SMBv1) is used by Microsoft operating systems such as Windows Server 2003 and Windows 7/8/10. This protocol allows computers to communicate directly with each other over networks without requiring a server. In addition, it provides authentication and encryption capabilities. However, some organizations are still using older versions of this protocol because of compatibility issues.
According to the latest research conducted by Trend Micro, SMB v1 is being used by hackers to steal data from unpatched devices. A recent report found that attackers use SMB v1 to gain access to corporate networks.
In addition, according to the same report, many organizations do not know how to properly secure their networks against attacks. They believe that disabling SMB v1 will prevent them from accessing files stored on servers. But, this is not true.
A study conducted by researchers from Cisco Systems revealed that disabling SMB v2 does not affect file sharing functionality. Therefore, disabling SMB v1 is not necessary unless you want to avoid possible problems caused by the lack of support for newer protocols.
What Is SMBv1, and Why Is It Always Enabled?
The Small Business Server version 1 protocol is one of Microsoft’s oldest protocols. It’s been around since Windows NT 3.5 and was designed to provide file sharing across networks. However, SMBv1 is now disabled by default on Windows versions newer than Windows 7. If you want to use SMBv1, you must enable it manually.
If you are running Windows 8 or later, there is no reason to keep SMBv1 enabled. You can disable it without losing access to shared files.
Some applications still require SMBv1. These include some games, such as Minecraft, and certain software tools, like Backup Exec.
How to Turn Off SMBv1 in Windows 10 or 8
Microsoft announced that it is disabling SMBv1 by default on Windows 10’s Fall Creators Update. This update comes after a massive WannaCry ransomware attack that affected millions upon millions of computers around the globe. Microsoft says that SMBv1 is no longer required because it doesn’t provide security benefits, and it could potentially expose your computer to attacks.
How to Disable SMBv1 in Windows 7 Using Registry Editing
To disable SMBv1 on a Windows 7 machine, we must edit the registry. This process requires administrative privileges. If you don’t know how to do it, please refer to the following article: How to Enable/Disable SMBv1 on Your Computer.
The steps are simple enough. You’ll want to open up regedit.exe, navigate to HKEY_LOCAL_MACHINE\SYSTEM\CurrentControlSet\Services\LanmanServer\Parameters, and then find the DisableSMBv1 entry. Name the new DWORD value “SMB1”. Set the data type to REG_DWORD, enter 0x00000001 in the Value Data field, and press OK.
Now, go ahead and close regedit.exe. Reboot your PC, and you’re done.
On Windows 11/10, disable SMB1.
Microsoft announced that it had disabled SMB1 on Windows 10 and Windows Server 2016. This move was taken because SMB1 is vulnerable to attack by WannaCry ransomware. Microsoft says that disabling SMB1 will help mitigate the threat posed by WannaCry.
The security vulnerability exploited by WannaCry is known as MS17-010. It affects systems running Windows 7 SP1, 8.1, and 10.
To protect yourself from WannaCrypt, you should disable SMb1.
SMB1 should be turned off via the Control Panel.
Microsoft Windows 10 includes a feature called SMB1. This allows computers to communicate with each other over a local area network (LAN). If you’re running Windows 7 or 8, you’ll probably find that this option isn’t enabled by default. In fact, I’m pretty sure it wasn’t even turned on when I installed my copy of Windows 10. However, it’s possible to turn off SMB1 entirely. Here are some steps to do just that:
Step 1 – Open the “Computer Management” tool. Click on the “View” tab. Then select “Local Disk(C)” under “Storage”. You’ll see a list of drives. Right-click on one of them, and choose “Properties.”
Step 2 – On the left side of the window, scroll down to the “Security” section. Select “Edit…” next to “Accounts,” and then “Add User or Group.” Enter a name for the account, and make sure that “Log on As:” reads “This Account.” Finally, check the box next to “Apply To:” and select “All subfolders and objects.”
Step 3 – Now go back to the main screen and double-click on “Disk Cleanup.” Choose “Clean up system files”, and then “OK.” Wait while it does its thing. When it finishes, close out of Computer Management.
Step 4 – Return to the “Computer Management” window. Scroll down to “Network And Internet Connections.” Double-click on “File Sharing Options.” Check the box next to “Share Files Over A Network” and hit “Ok.” Close out of Computer Management. Your computer won’t be able to access shared folders anymore.
Step 5 – Repeat Steps 1 through 4 on every machine you’d like to disable SMB1 on.
Disable SMBv1 using Powershell
If you are running Windows Server 2016, you might want to disable SMBv1 because Microsoft announced that it will stop supporting SMBv1 on April 8, 2020. This means that there won’t be any patches anymore for the vulnerability. If you don’t know what SMBv1 is, read our article about it here.
In addition, you might lose access to some features like shared folders and file sharing. To avoid this, we recommend you to use PowerShell to disable SMBv. You can do this easily by executing the following command:
Set-ItemProperty -Path “HKLM:\SYSTEM\CurrentControlSet\Services\” -Name “LanmanWorkstation” -Value 0
You can execute this command directly on the server or remotely via remote desktop connection.

Tim Wiley was a tech writer for seven years at Recode. In that time, he covered everything from basic browser.js and URL parameters to XHRs, performance, malware, security, enterprise apps, social media, and Windows secrets. He also written about how to hack Signal in 2016 and how to resist, or possibly even conquer, the zero-day threat.